
A Portable Layout in S-Scale
The S-Size, Dual-Gauge Zilwaukee
Okeechobee and Tremungus
- - Backdrop - -
| Home |
|
|
|
|
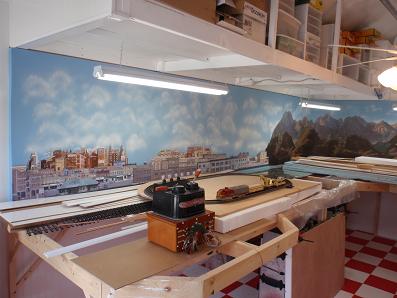
East side overall view This is the location for the town tht will become Zilwaukee.In the foreground, you can see a temporary loop of O-gauge track used for a short video. Next to that is a Flyer transformer on top of a Rube Goldberg contraption that makes it into a handy bench tester. |
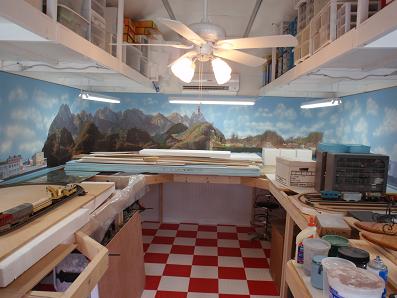
Center This is the overall view of the Tremungus Mountain area. The piles of scrap foam will be the basis for the mountain. There will be a loop of smaller scale track on top leading to Hogwarts New World located somewhere, unplotable on the US-Canada border. |
West side Here you see the area that will hold the car ferry slip and supporting yard as it meets the little known, 6th Great Lake Okeechobee. |
|
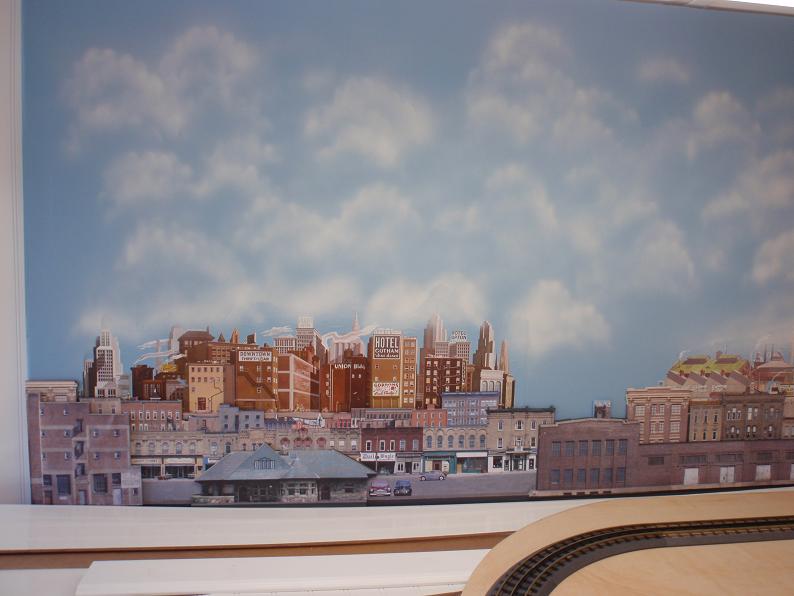
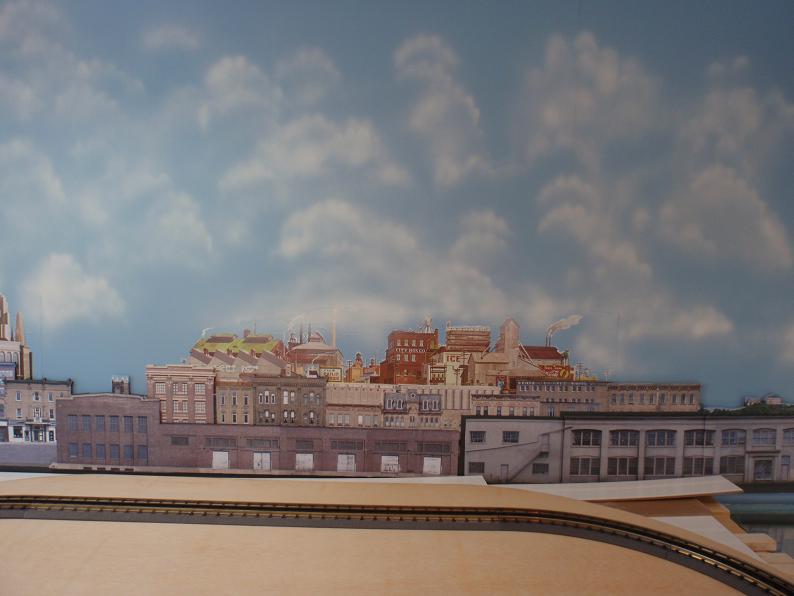
This is the first picture of the backdrop for the town of Zilwaukee. Zilwaukee is the
name of a real town in Michigan. The backdrop is made up in layers. The farthest back is
the foam board that is the basis for all of the backdrops. The 1/4 inch thick stuff is lightweight,
easily cut and glued. All of the board was fitted and then painted a sky blue that I liked.
Next, my grandson and I painted clouds on all of it. It is a simple, easy and smelly process
at which we can all succeed. There is a page in the 'Techniques' section that details how to do it. Painting Clouds Once that paint dries, we were ready to paste up the commercial, paper parts. In this view, the ones at the bottom are from Sceniking. These panels are photographic prints made on computer paper of real places. They are identified as suitable for S or O scale and I agree with that. All of the sky is cut off so tht there is no clash between the sky parts provided by different manufacturers. To add some depth, some of the buildings were cut out and pasted onto their own pieces of foam board. Cutting off the sky portion makes the panels a bit small. So, we also pasted some of the Walther's Instant Horizons panels above them. These panels are nominally HO scale, but, since they are used to represent buildings in the distance, the size seems to make no difference. The sky portion of these panels is also removed. |
|
|
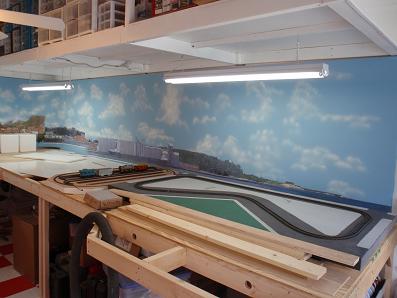
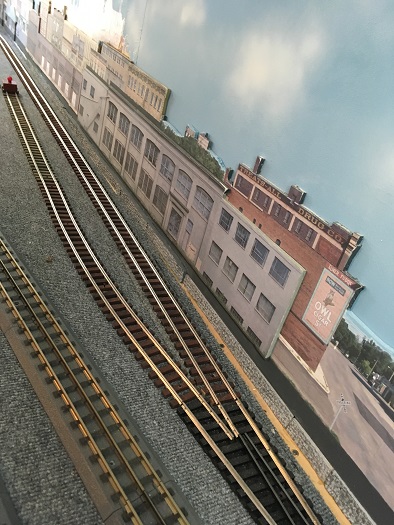
Zilwaukee continues with more panels from Sceniking and from Walther's. The board and track
in the foreground are temporary. The actual layout surface will be in better alignment with the
bottoms of the panels. Note About Sceniking These panels are printed on heavy, computer paper. They are really excellent products and I am delighted to have found them. The good folks at Sceniking provide good and timely service. The instructions are excellent and the subject matter is a perfect fit for me. The good news is that they look good and are small enough to handle when the spray glue has been applied to the back. Handling that stuff requires care because it sticks and transfers to anything it touches including the tips of the fingers holding it. The bad news is that the paper is not coated and the ink is water soluble. That means we need to spray each of the panels with something. I used Testor's Dullcoat as suggested by the manufacturer. I like these panels. This set of panels is identified as U030 Midtown. Note About Walther's Walther's Instant Horizons have been around for quite a while. They are printed on heavy, coated paper with a nice, hard surface. The panels are 36 inches long which can be a challenge to handle once they have the spray glue (I use 3M Super 77 for all of the panels.) applied to the back. Zilwaukee includes 712 Hotel/Business and 711 Freight Yards. The subject matter is a painting rather than a photograph. The sky portion is removed on these panels. |
|
|
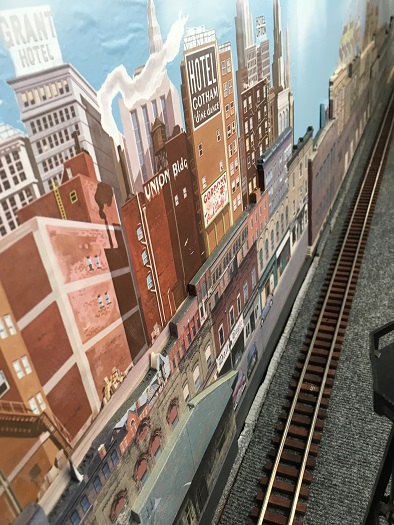
These views show the thickness of the foam core boards used to mount the building images. The exposed edges are painted a dark gray to blend in and disappear. Just that small amount of relief adds significantly to the 3D appearance. |
|
|
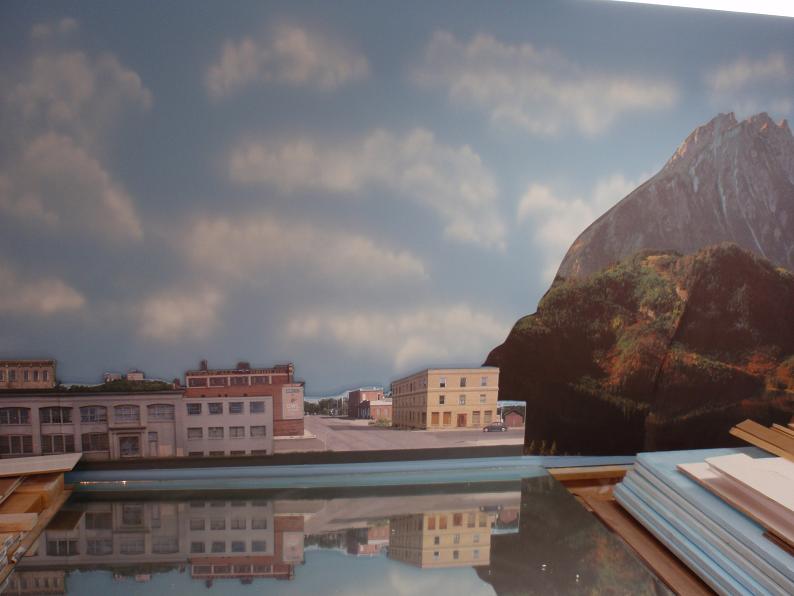
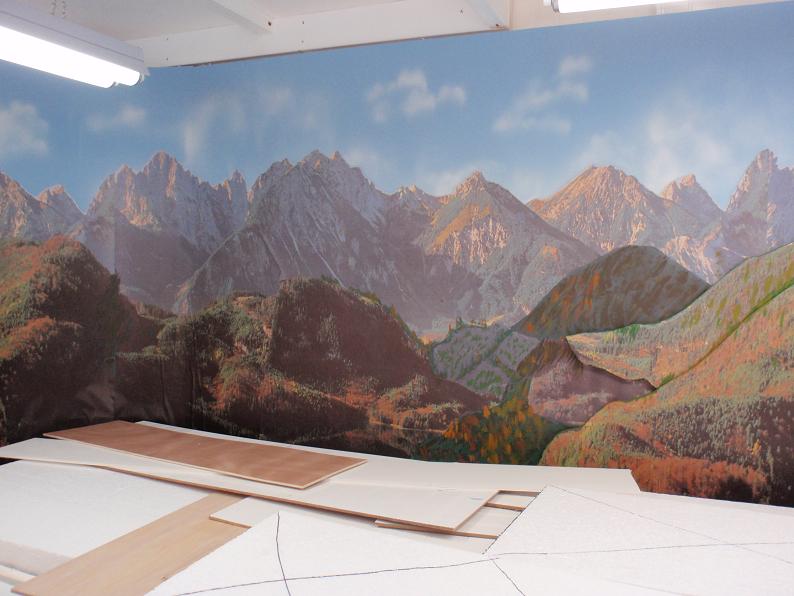
Zilwaukee finally comes to an end and the mountain scenery begins. The mirror on the table top
is not part of the layout. The mountain section is from a third manufacturer: Faller. It is also
photographic. The paper is heavy and is coated. It comes in two pieces that are duplicates of each
other. Each piece is over 5 feet long and is too big for me to handle in one go. Since I wanted
at least an attempt at blending, I was willing to cut along ridge lines and make several,
irregular pieces from each half. I fitted those to the town scene and to each other to make
a reasonable continuous scene. This item is Decor 180512 Hinterland. Note About Faller This alpine vista is very impressive. Since there is little sky, cutting it off did not cost me many square inches. The paper is heavy and coated. The panels are really too big to handle with spray glue. I used some a few years ago using a more forgiving adhesive that allowed me to reposition it a little as I installed it. From a quality of materials perspective, this stuff is the best. From an ease of use perspective, it is the worst. As with all of the printed panels, I cut the sky off and used the base sky we painted. |
|
|
More mountains into the corner. The corner is made from curved hardboard since the foam core board will not follow a curve. To get his scene to work, I needed to fit a lot of pieces and to paint some of my own parts of the scenes. The lower part of the right side of this picture will be hidden by the foreground mountain. That is why it and the next panels are raised a bit above the table top. | |

|
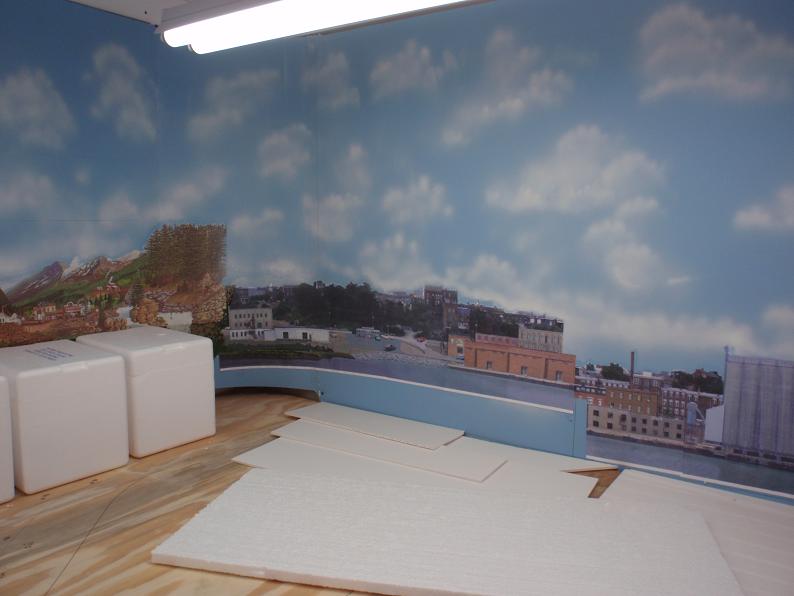
Here we see the end of the Faller mountain panels and the start of the mining town. The backdrop panels for this town are more Walther's Instant Horizons. In this case, I butted two of them right up against each other. That shows how the artise designed the original paintings to blend and merge. THese two are 702 Tall Timber and 701 Sierra Boomtown. The track will spiral up inside the mountain to get to the mining town which is elevated above lower level town and lakefront areas. | |
|
Here is the (still somewhat rough) transition from mining area to the lakefront. The left-hand part of the lake on the backdrop will be completely covered by foreground scenery. The lake front is made from another set of Sceniking panels identified as C017. You can order this set of panels in either right hand or left hand versions depending on how your waterfront fits with the rest of your layout. | |
|
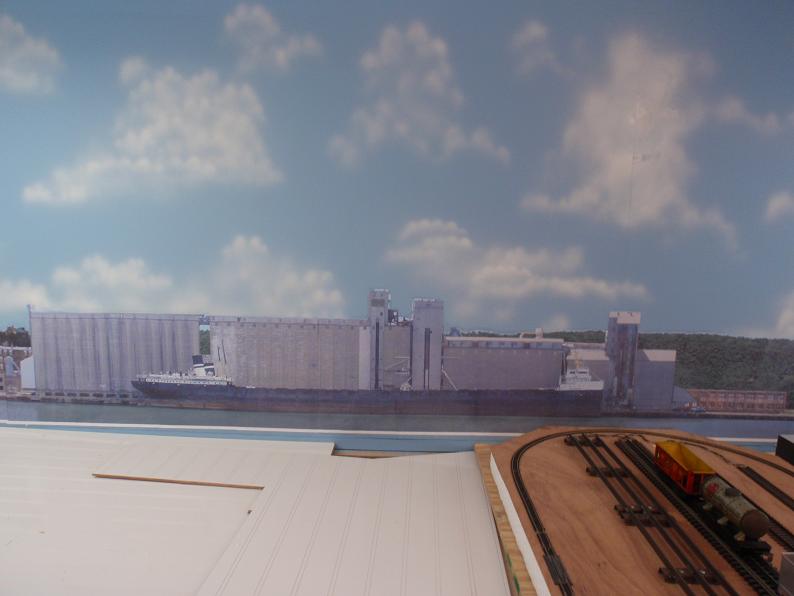
I would have liked to do the 3D trick on this part, but, it really won't work. The lowest level is the lake and that must be against the back boards. So, I cannot make the freighter or any of the buildings stand out. The track in the foreground is a set of test tracks in a variety of gauges. I need to figure out a place to store that once there is real track on the layout. | |
|
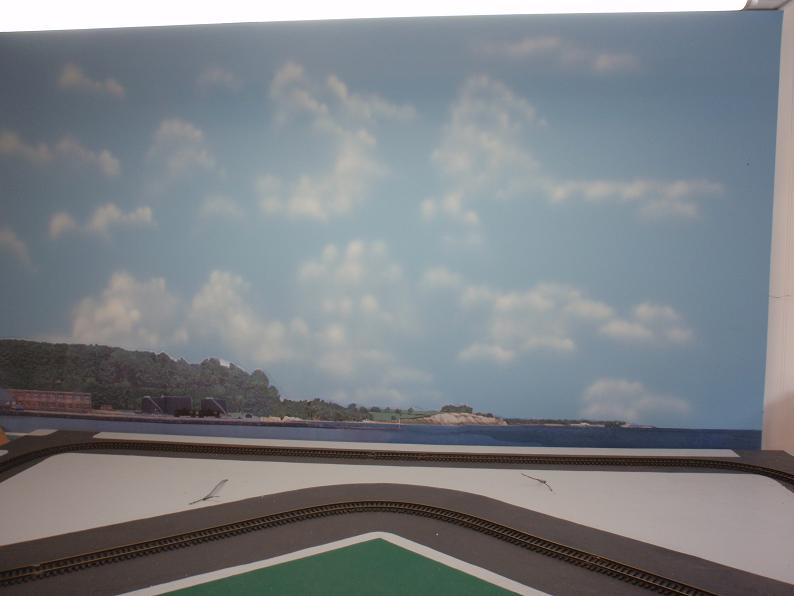
Here is the end of the line. To the right is Lake Okeechobee with some port in Canada on the other side. In this section, there will be a car ferry and a supporting yard. That will allow me to do some switching when the mood strikes and lets me be comfortable running prototype paint jobs from anywhere in North America. Passengers and goods arrive at this port from everywhere. That track in the foreground is a portable, trolley layout. It will have to be stored somewhere, too. | |
| Home |
| Site and Pages Copyright 2011-2025 - William P. Porter --- Some content belongs to the indicated provider. |