These pictures and descriptions show a kit bashing project combining a plastic Marx flatcar
with an LED flashlight to make a spotlight car for my MOW train. I really thought that this
project would be simple and quick. I had no such luck.
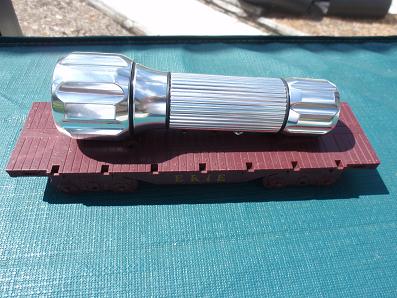
The basic components are a flatcar body
and a small, LED flashlight. It seemed to me that once I had these two pieces, the rest of the project would be very
simple and very fast.
|
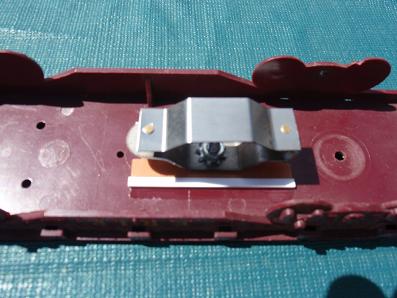
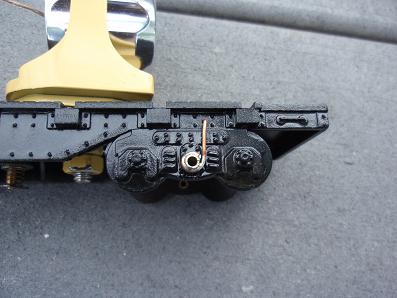
This center-rail pickup is supplied by Robert
Grossman.
|
Oh Gosh, now I need to pick up power from the
outside rails.
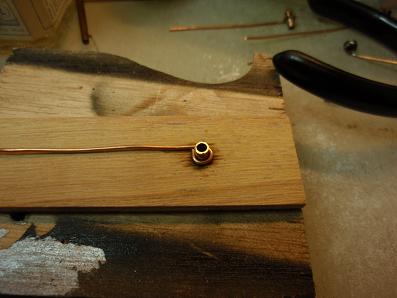
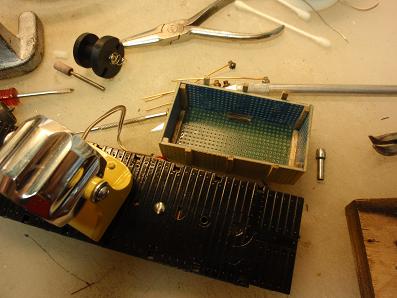
This gadget is a soldering jig used to hold a piece of brass tubing while I solder a solid copper wire to it.
|
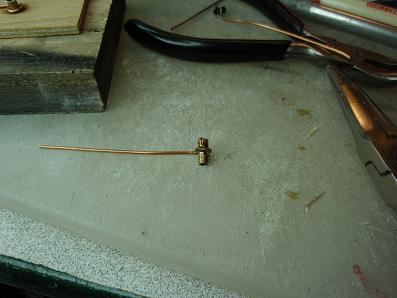
Here is 1 completed wheel pickup assembly.
|
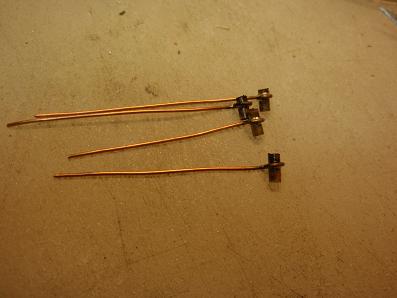
And here are all four of them. The project has
already taken more time than I had expected. The plastic car body is a good insulator.
|
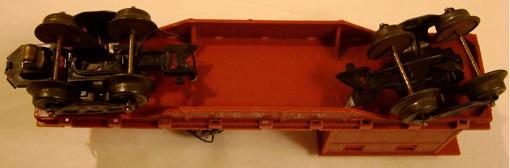
The original axle holes were worn and
elongated. By installing the pickup assemblies,
I repaired that damage as well as making contact with the outer rails. The only lubrication for these is graphite
powder. Oil would insulate.
Drilled a hole for the tubing and a hole for the wire. Secured with ACC super glue.
|
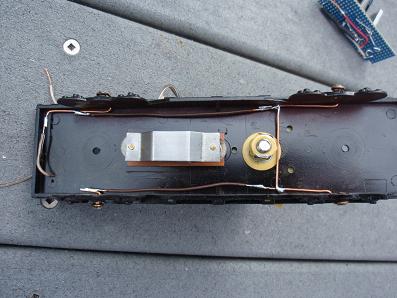
Here are the solid wires that collect
the connections to the outside rails into a single point.
|
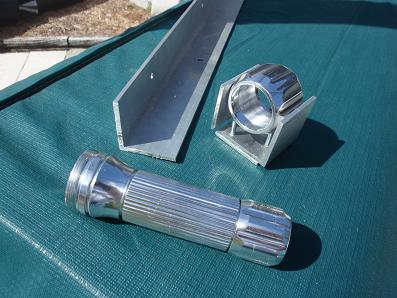
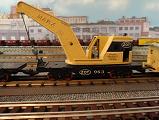
I used angle aluminum to make the
yoke that holds the business end of the flashlight. Lots of sawing, filing, drilling and tapping.
|
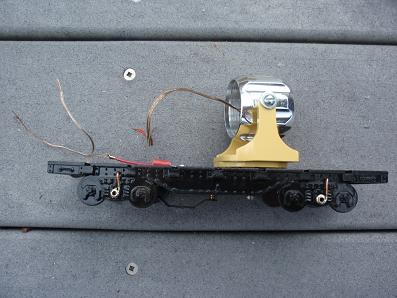
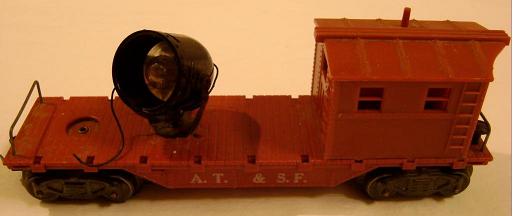
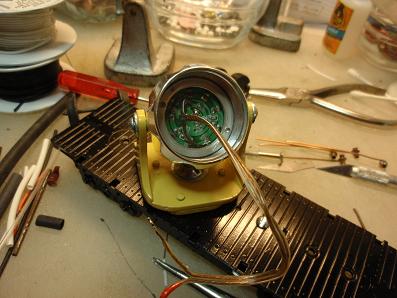
This photo shows the light bezel mounted and
the connections to center rail and outside rails routed up to power the light.
|

Its another hitch. For normal LED power
we just need a resistor to limit the current. But, this flashlight uses 3 AAA cells for power and no outside resistors.
I don't have a reliable way to measure current, so, I decided I needed to build a regulated power supply that would
accept track power and provide something very close to what the 3 AAA's would do. Time to hit the books.
|
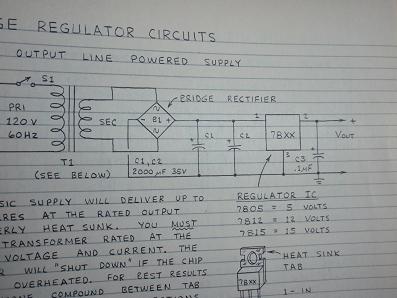
A simple circuit to produce a regulated
power supply. I used a 7805 to give me 5 volts and then put a couple of silicon diodes in series to drop the voltage
to about 4.6. That is what the batteries produced, together.
|
This is the second try. The VR I got from Radio Shack
was a bad part and fried the first LED flashlight. Its a good thing I had two of them. I bought better regulators from
Jameco and they work just fine.
|
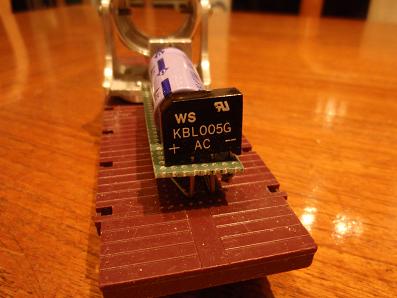
Here is the diode bridge on the input side of the first try.
|
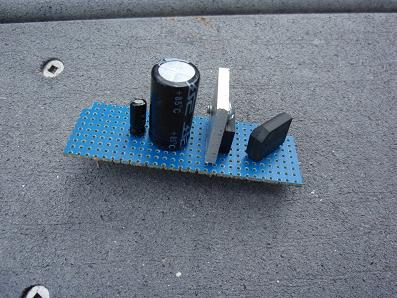
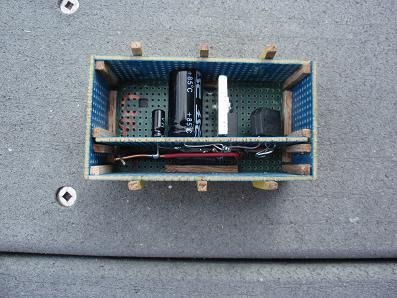
This is the second try with the better parts. The
aluminum chunk is a heat sink for the regulator. The capacitors keep the power smooth.
|
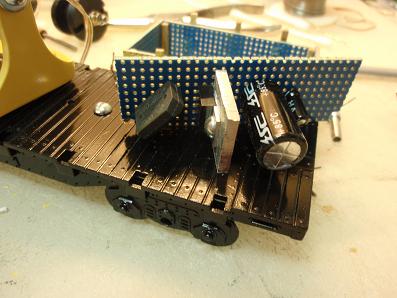
The circuit will produce heat, so, I need a cover that
permits some ventilation. I used perfboard and reinforced the corners with some wood strips.
|
More wood strips keep the circuit board aligned.
|
These are the connections to the backside of the
LED portion of the flashlight.
|
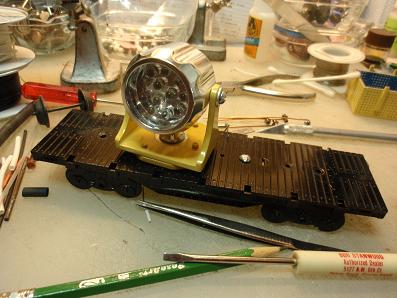
Here is the front view at the same stage in the process.
|
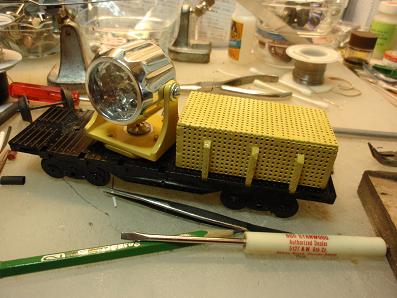
The circuit cover fits into the stake holes on the side of the flatcar.
|
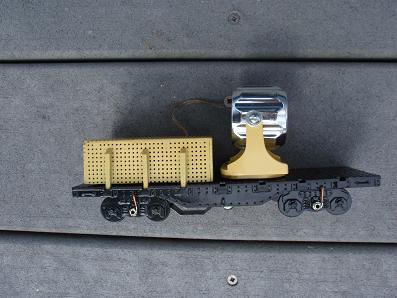
Another view ready for wheels and a test.
|

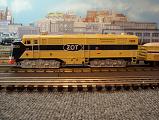
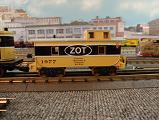
Here is the spotlight looking up at its big brother.
|
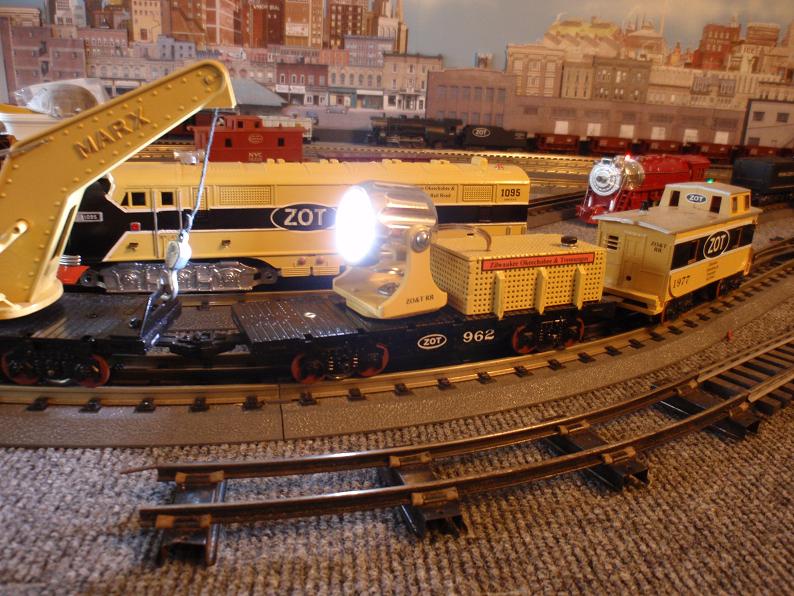
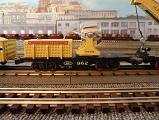
Assembled, decorated, tested and fully functional.
I expected the project to take a couple of evenings. In real time, it was more like 4 months. I can't say I recommend
it, but, it is done and it was fun. The voltage regulator protects the LEDs from excess voltage, provides a constant intensity
and flicker-free operation.
|