
A Portable Layout in S-Scale
| Home |
The S-Scale Zilwaukee
Okeechobee and Tremungus
- - Ground Contours - -
Photo 1 - First step in ground contours - corrugated sections.
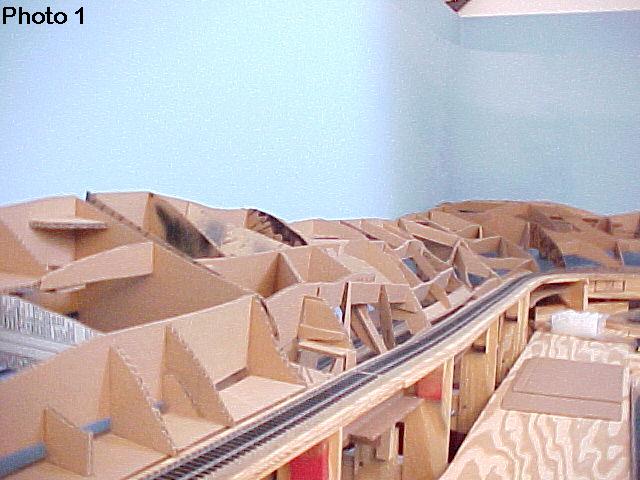
This is a long view of the contour sections installed. You can get a feel for the shape of the resulting scenery. The contour pieces are cut and assembled using hot glue. I try to make the contour pieces about two inches deep for strength. Then I add cross bracing for rigidity and to provide a good place to attach the next layer.
Photo 2 - One section is removed
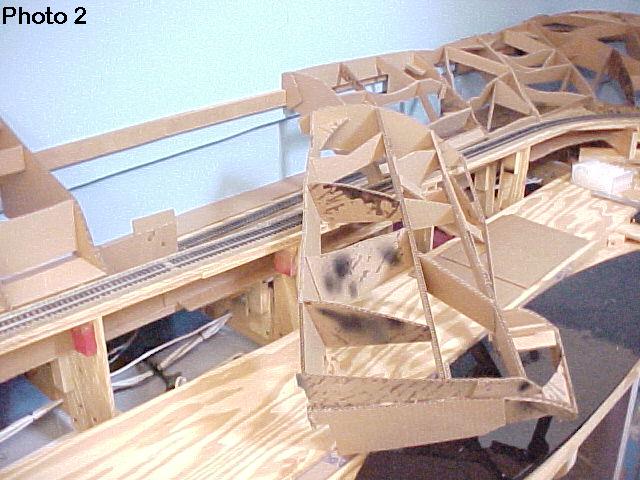
Photo 2 shows the south wall with one of the sections removed. You can see the construction more clearly. Once the next two skin layers are attached, this unit will be strong, light and rigid. It needs to be all of those things since it may be removed to get at a train in trouble.
Photo 3 - South West Corner
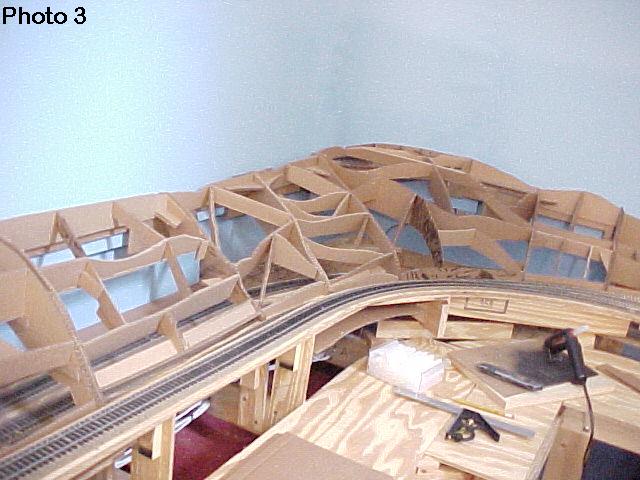
This view shows the corner with all of the sections in place. You can also see the high-tech tools I use for making the lift-out sections.
Photo 4 - South east corner
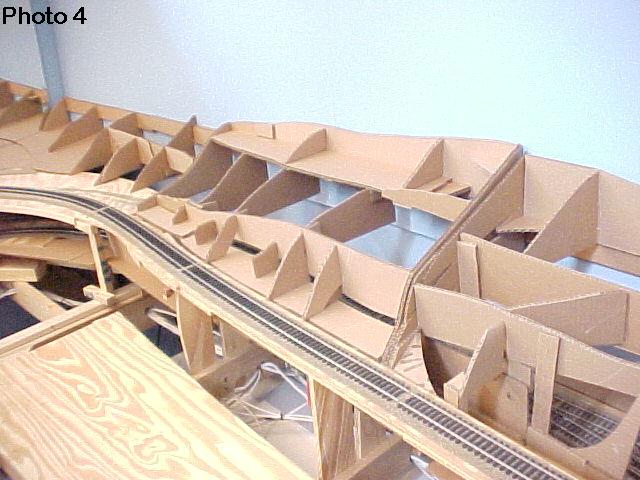
This is the first of 5 views that show the sections installed.
| Home |
Photo 5 - Section 2
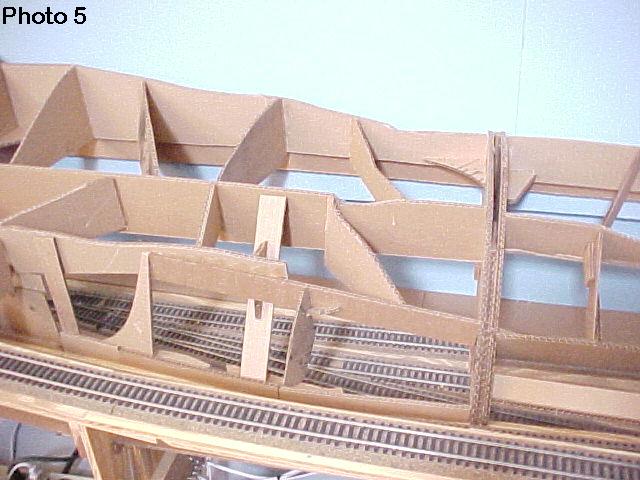
This is the second of 5 views. This is the section that is shown dismounted in Photo 2.
Photo 6 South side approaching the SW corner
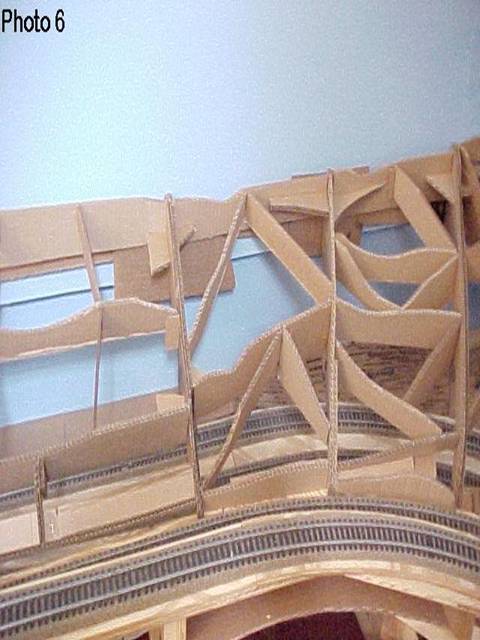
The middle view
Photo 7 South West Corner
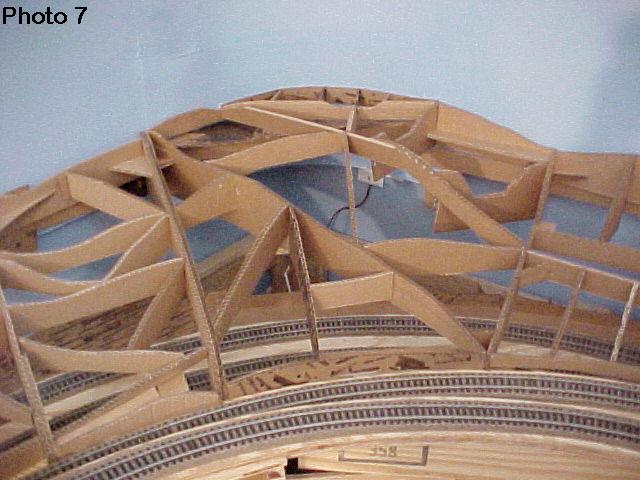
This view shows the corner. You can see the contour for the road that leads away from town. The plan is to force the perspective on this road by having it narrow and by using vehicles from other scales.
Photo 8 Into Town

This view shows the beginnings of the town section. This section is a little different in that it has a thin plywood (doorskin) base with scenic elements attached to the top of it. The reason for the difference is that this section fits closely over the hidden staging tracks. There is not enough room for a deep section below ground level.
| Home |
| Site and Pages Copyright 2011-2025 - William P. Porter --- Some content belongs to the indicated provider. |