
A Portable Layout in S-Scale
This Marx 3/16ths Scale PFE Reefer
was damaged during Hurricane Wilma in 2005
- - Here is how it was restored - -
| Home | Hurricane Wilma |
 Before |
Some Work Happens |
 After |
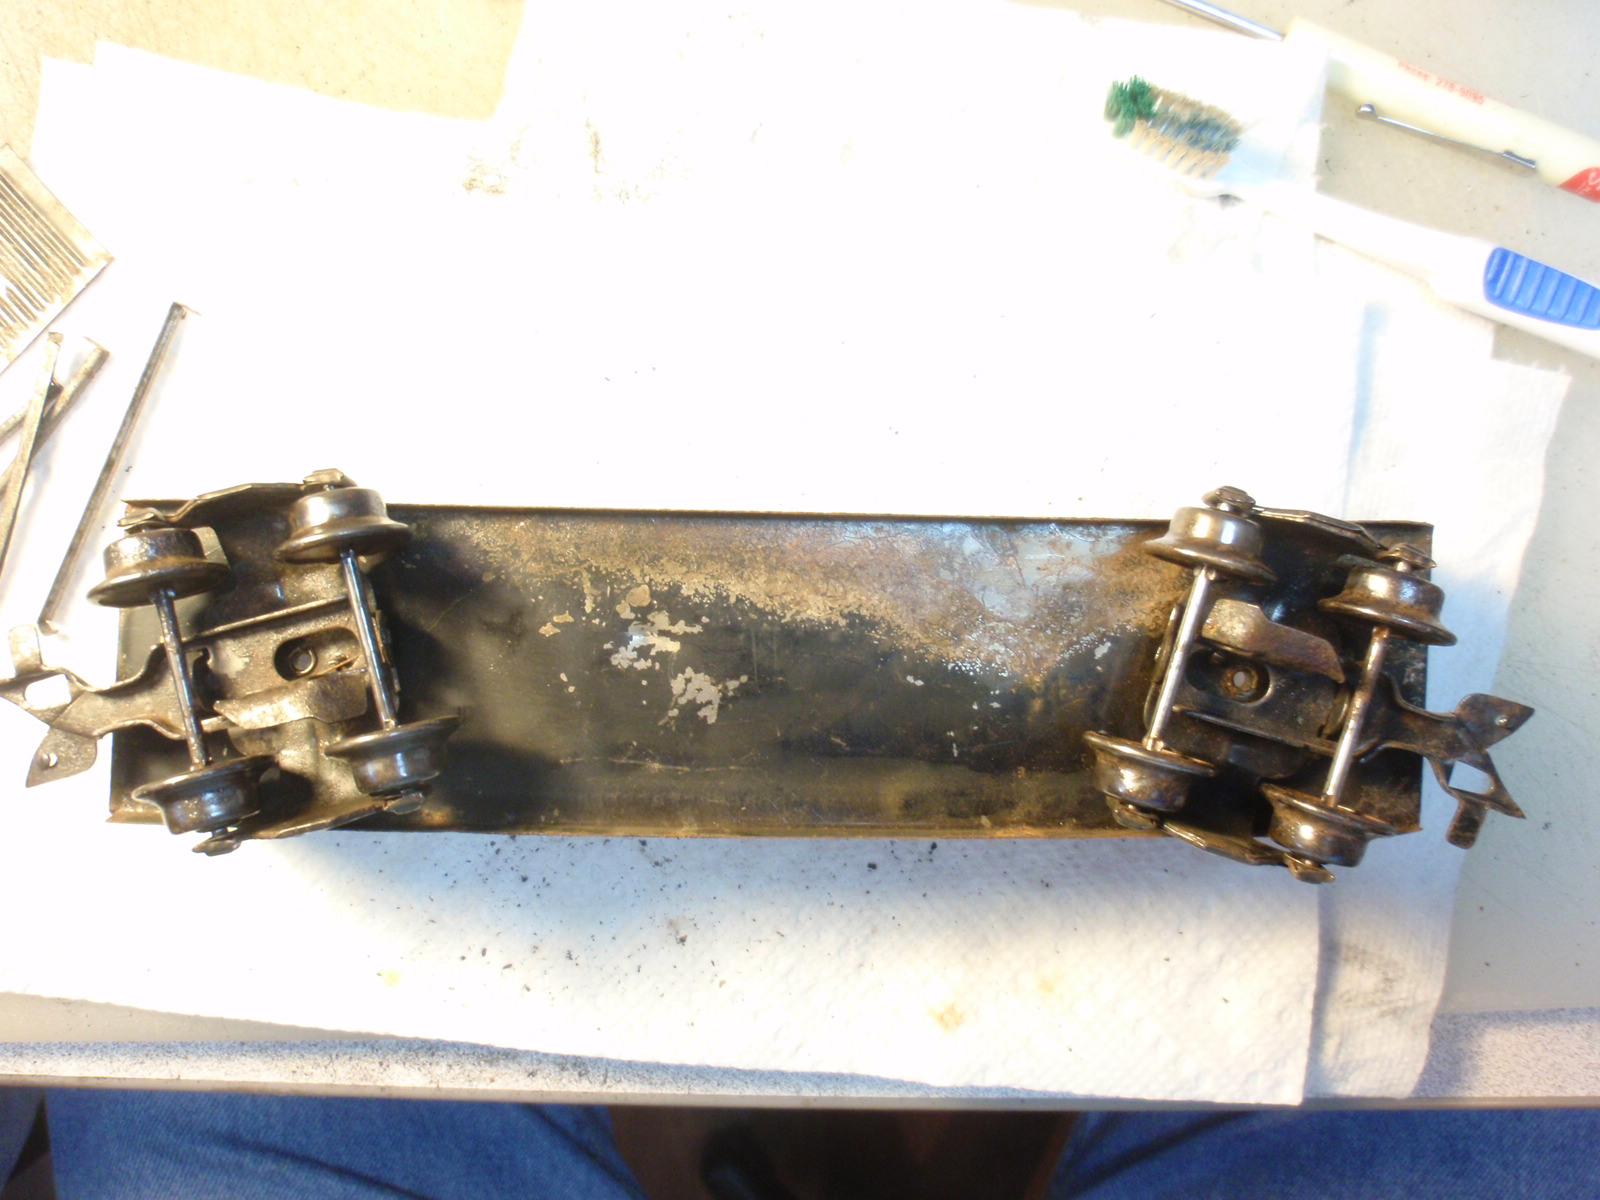
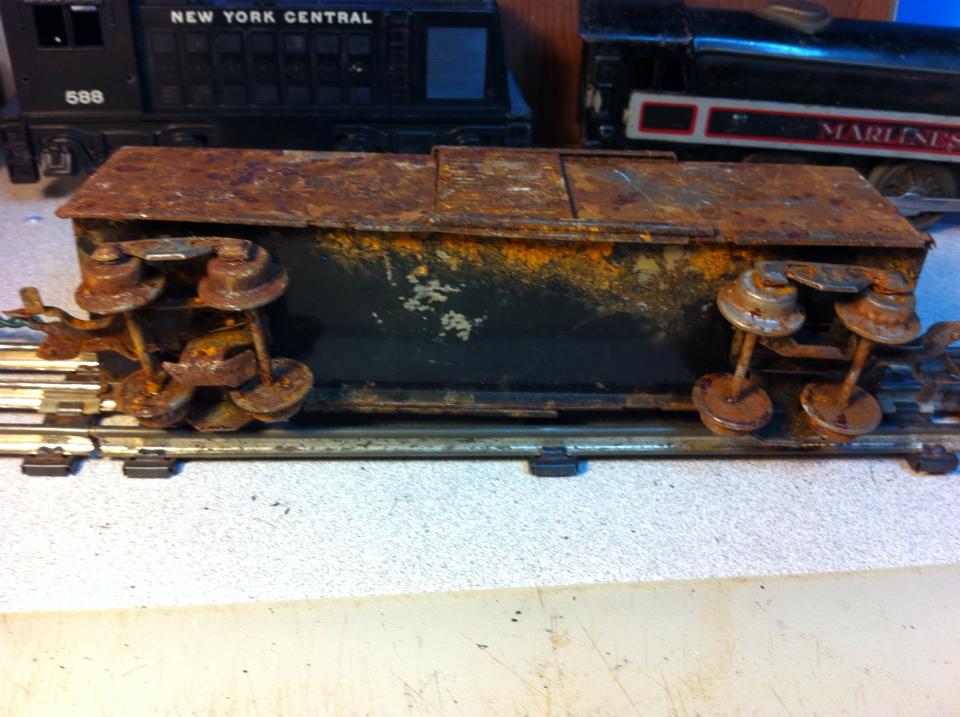 Underside to start The wheels do not turn. The axles are frozen to the wheels. The couplers are so bumpy from the rust that they will not slide over others or mate with them. The coupler springs are good. |
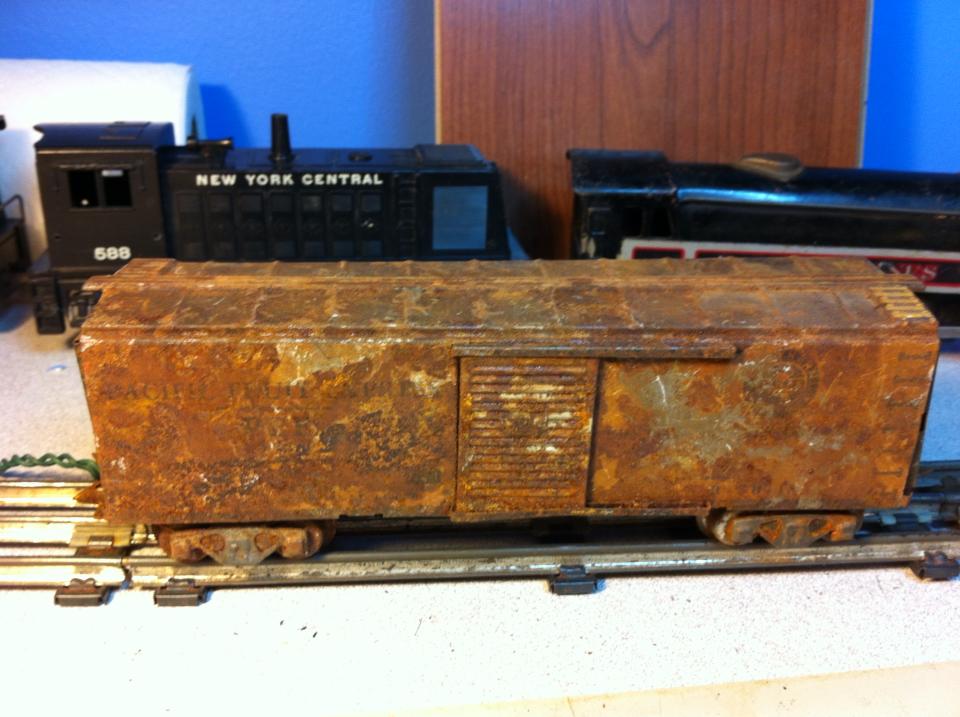
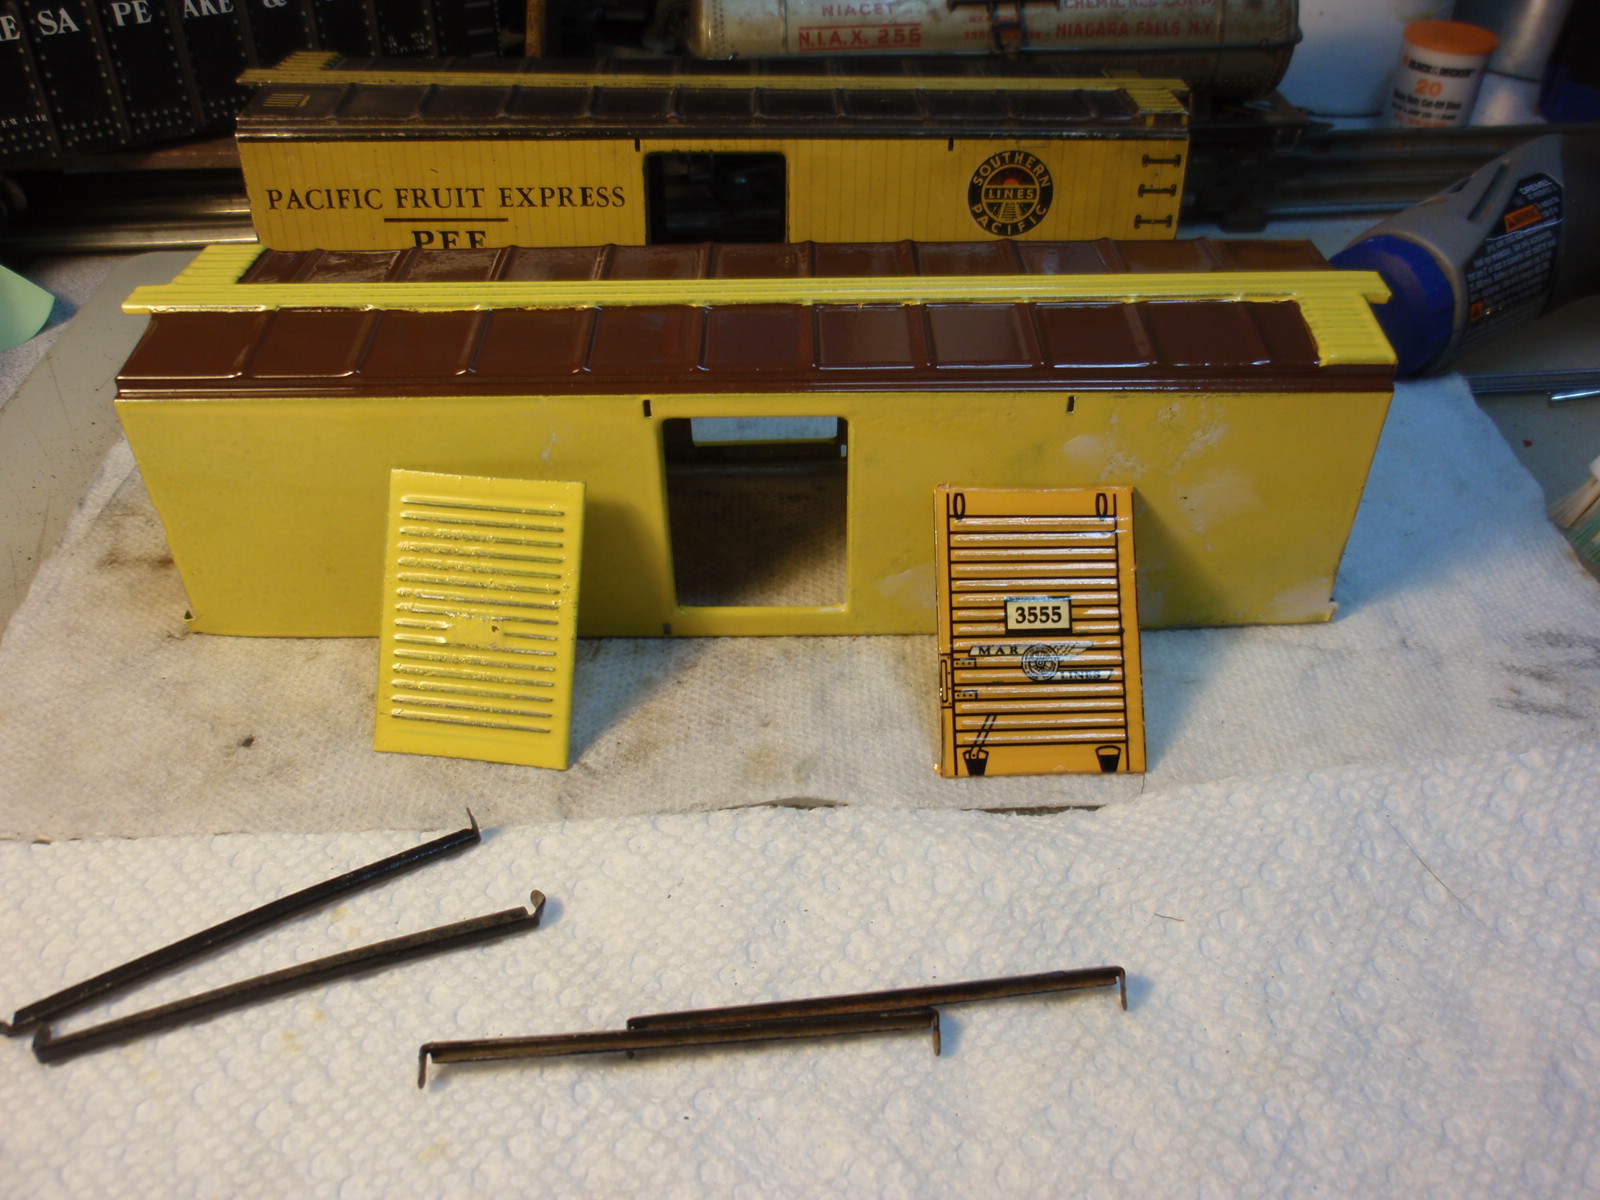
 Good side at the start Some of the paint survived to this point. It let me know what the car had been in the good old days. |
Not such a good side at the start Some of this rust has pitted the surface. The doors do not slide in the tracks, but, they are generally sound as are the door guides. Just full of bumpy rust. |
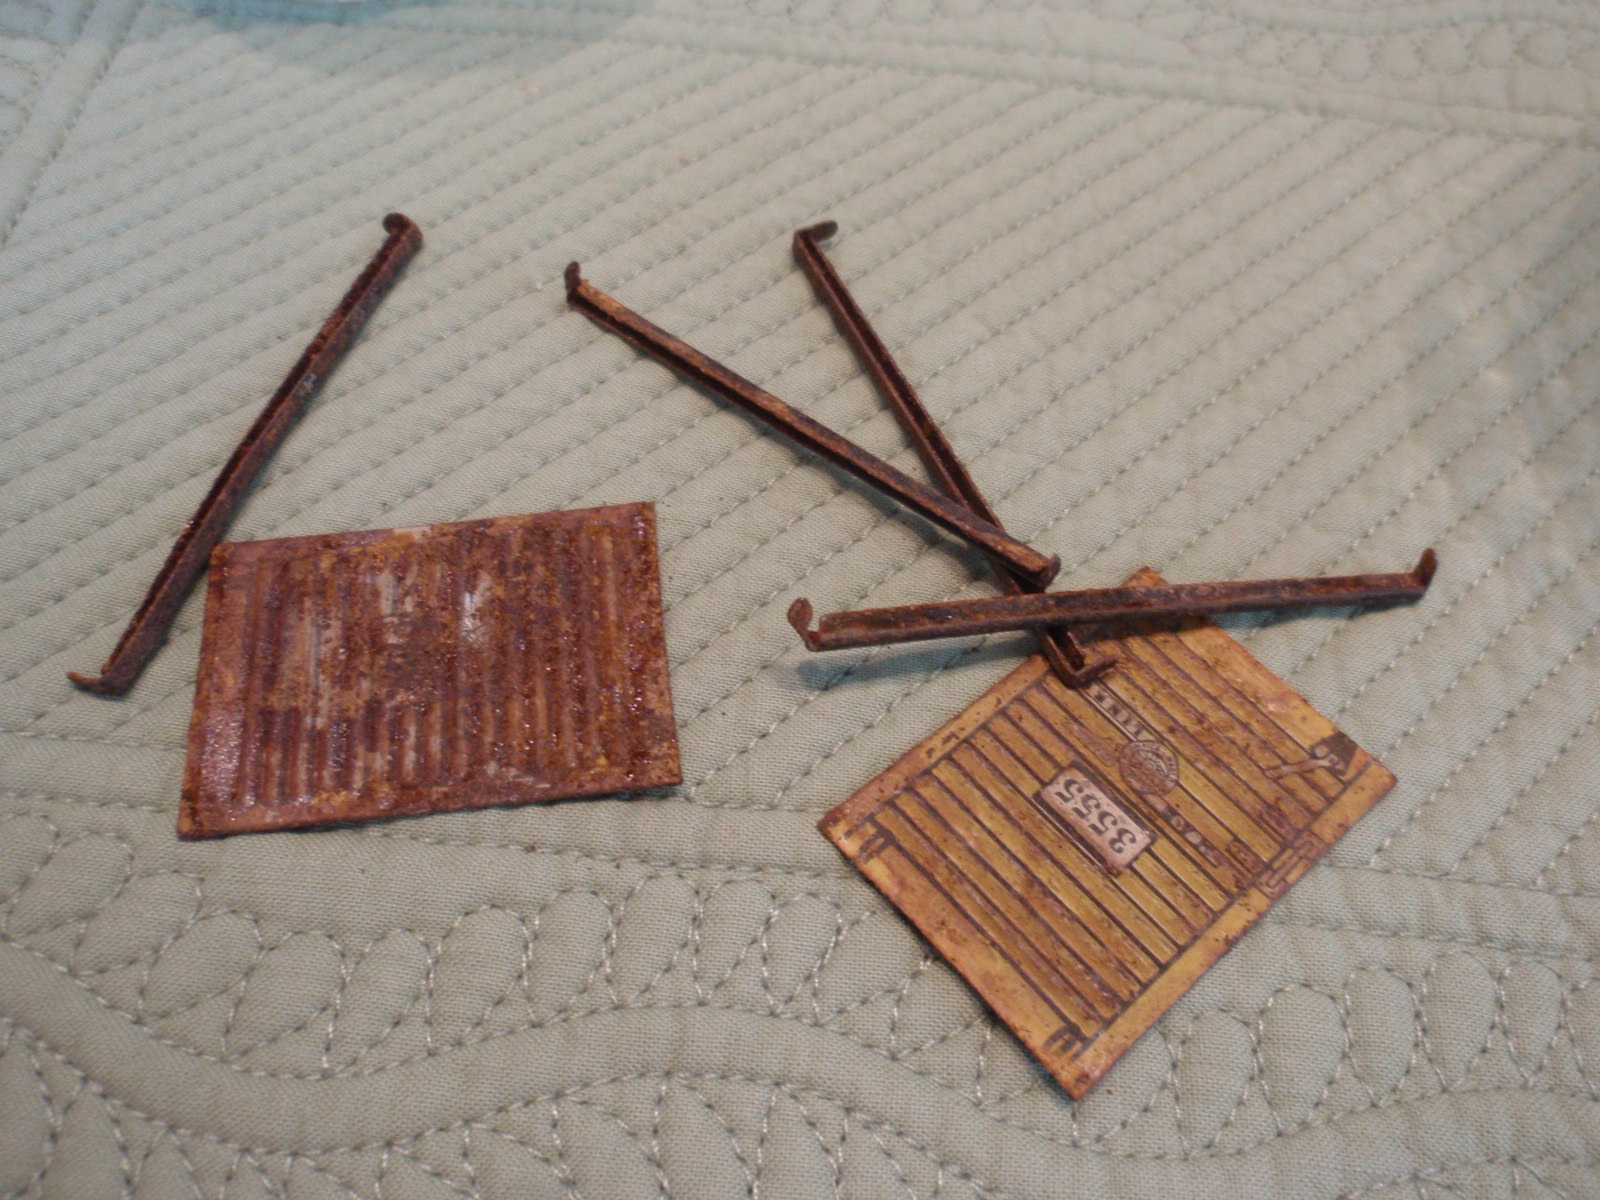 Doors on the Loose Doors and guides before the vinegar treatment. |
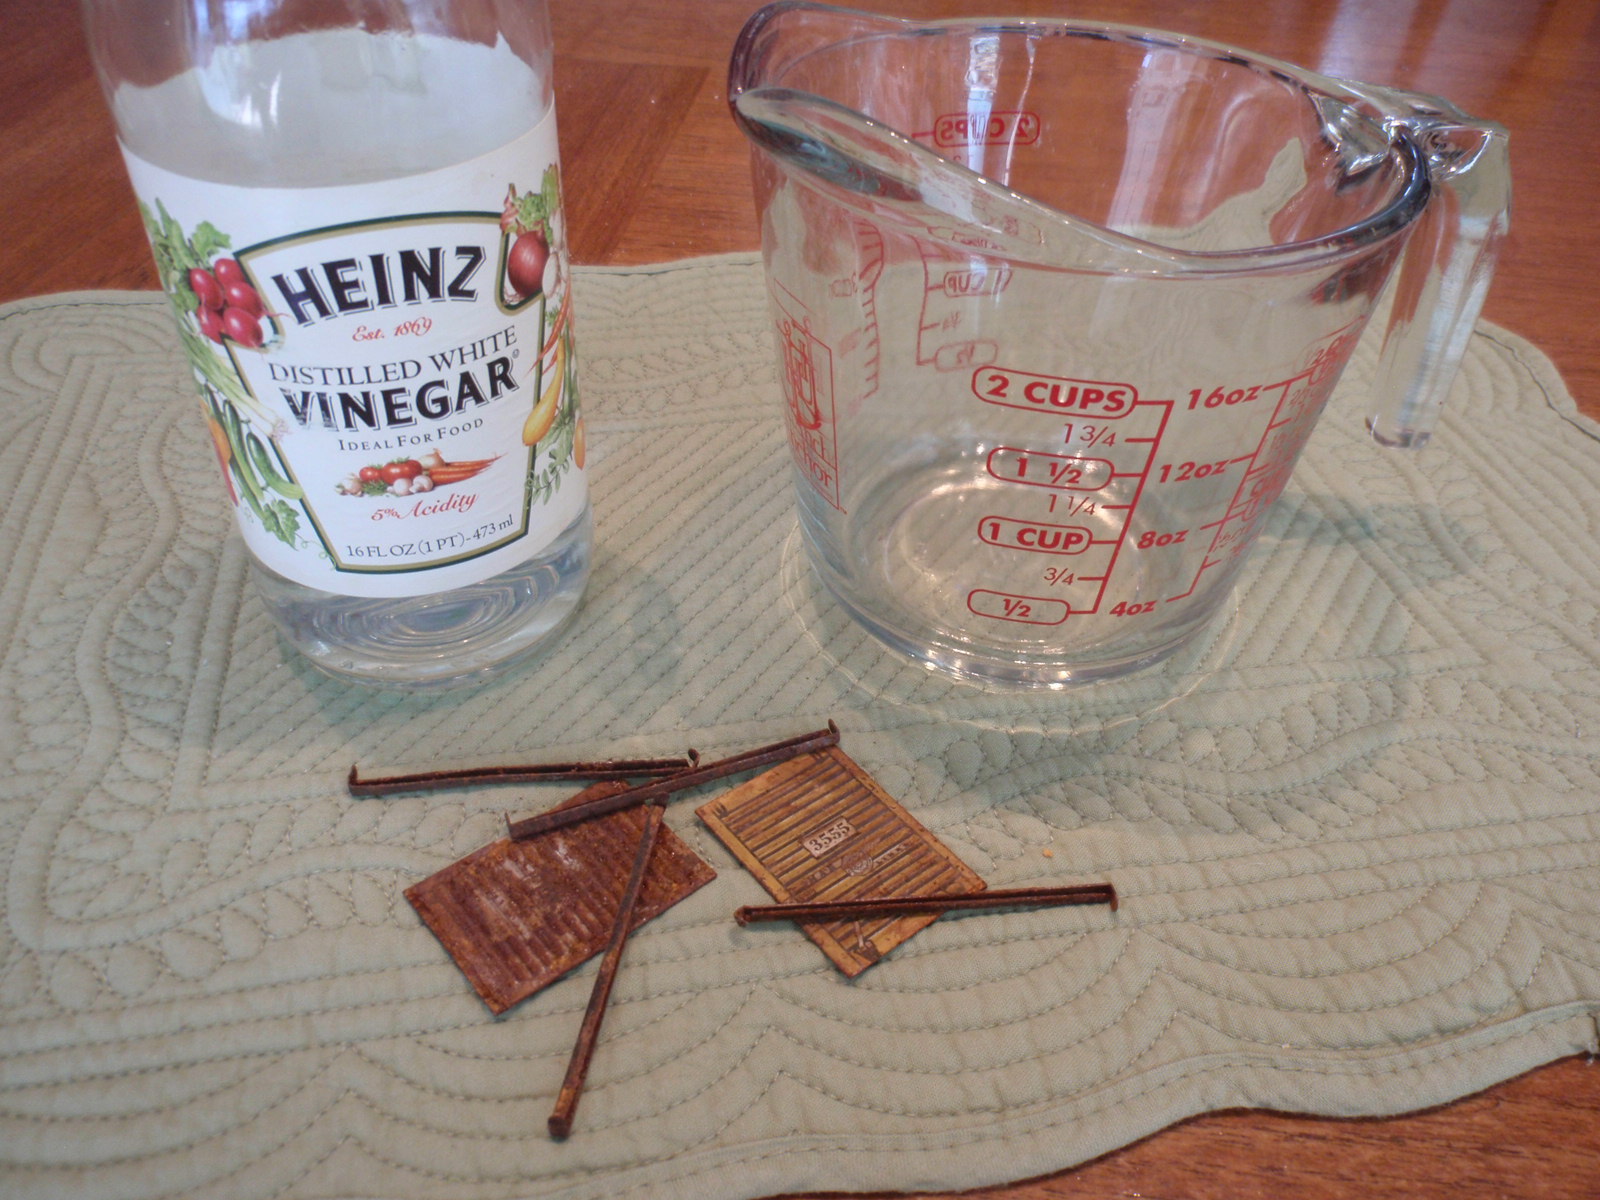 The Elements of Rust Removal Actually, the vinegar is bulk white distilled vinegar bought in gallon jugs and reloaded into the glass bottle for convenience. |
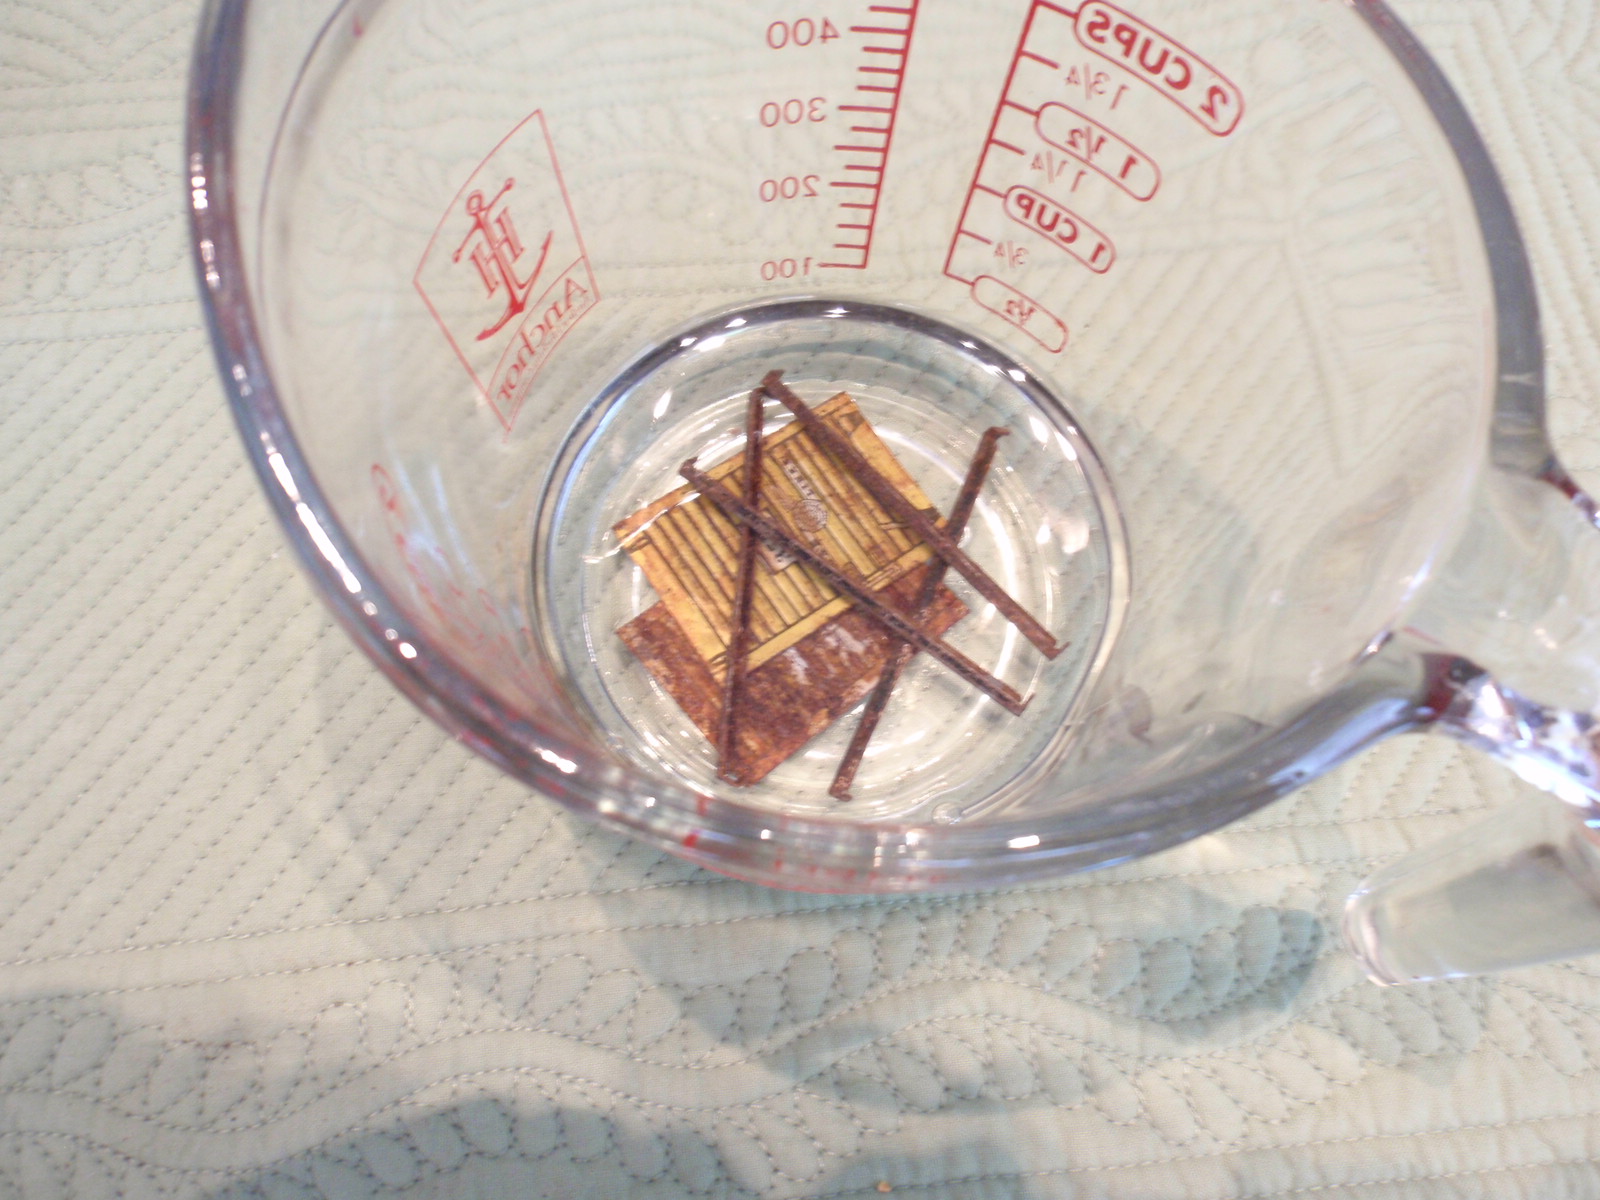 Doors in the Bath Enough vinegar to cover the parts. Agitated from time to time over night. About 15 hours total in the vinegar bath. |
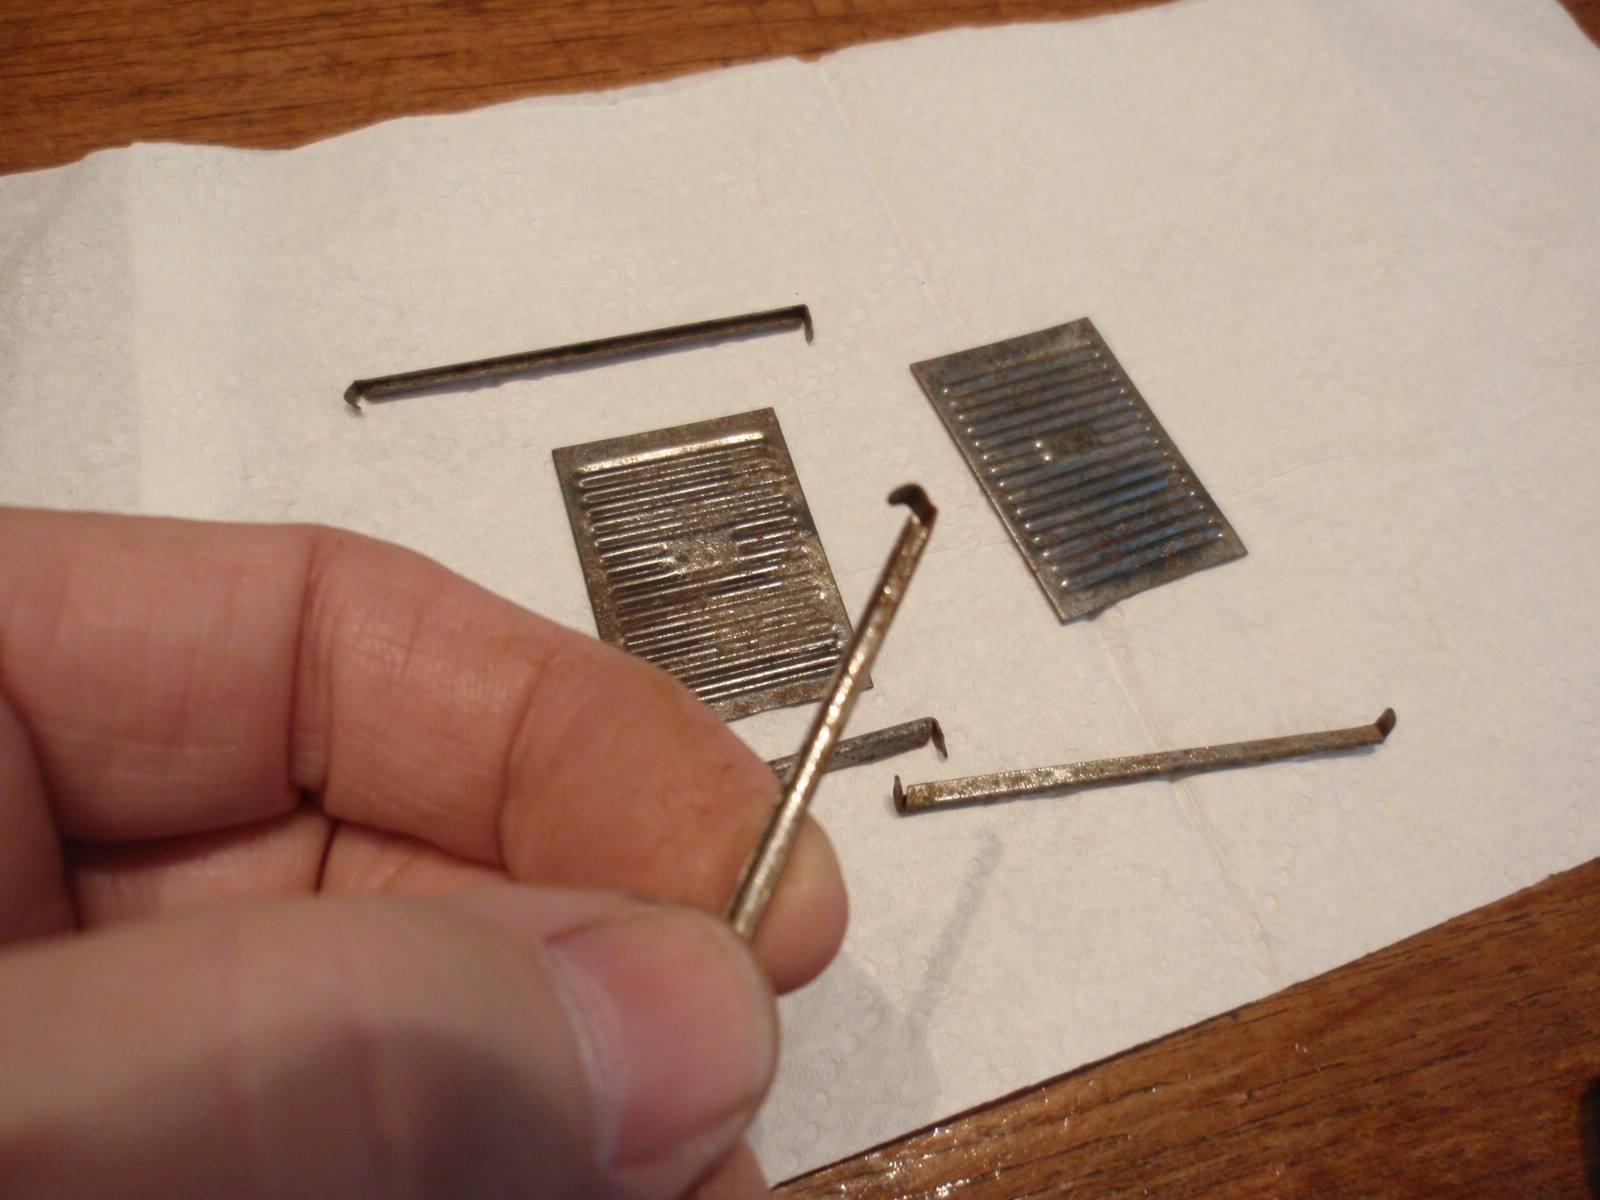
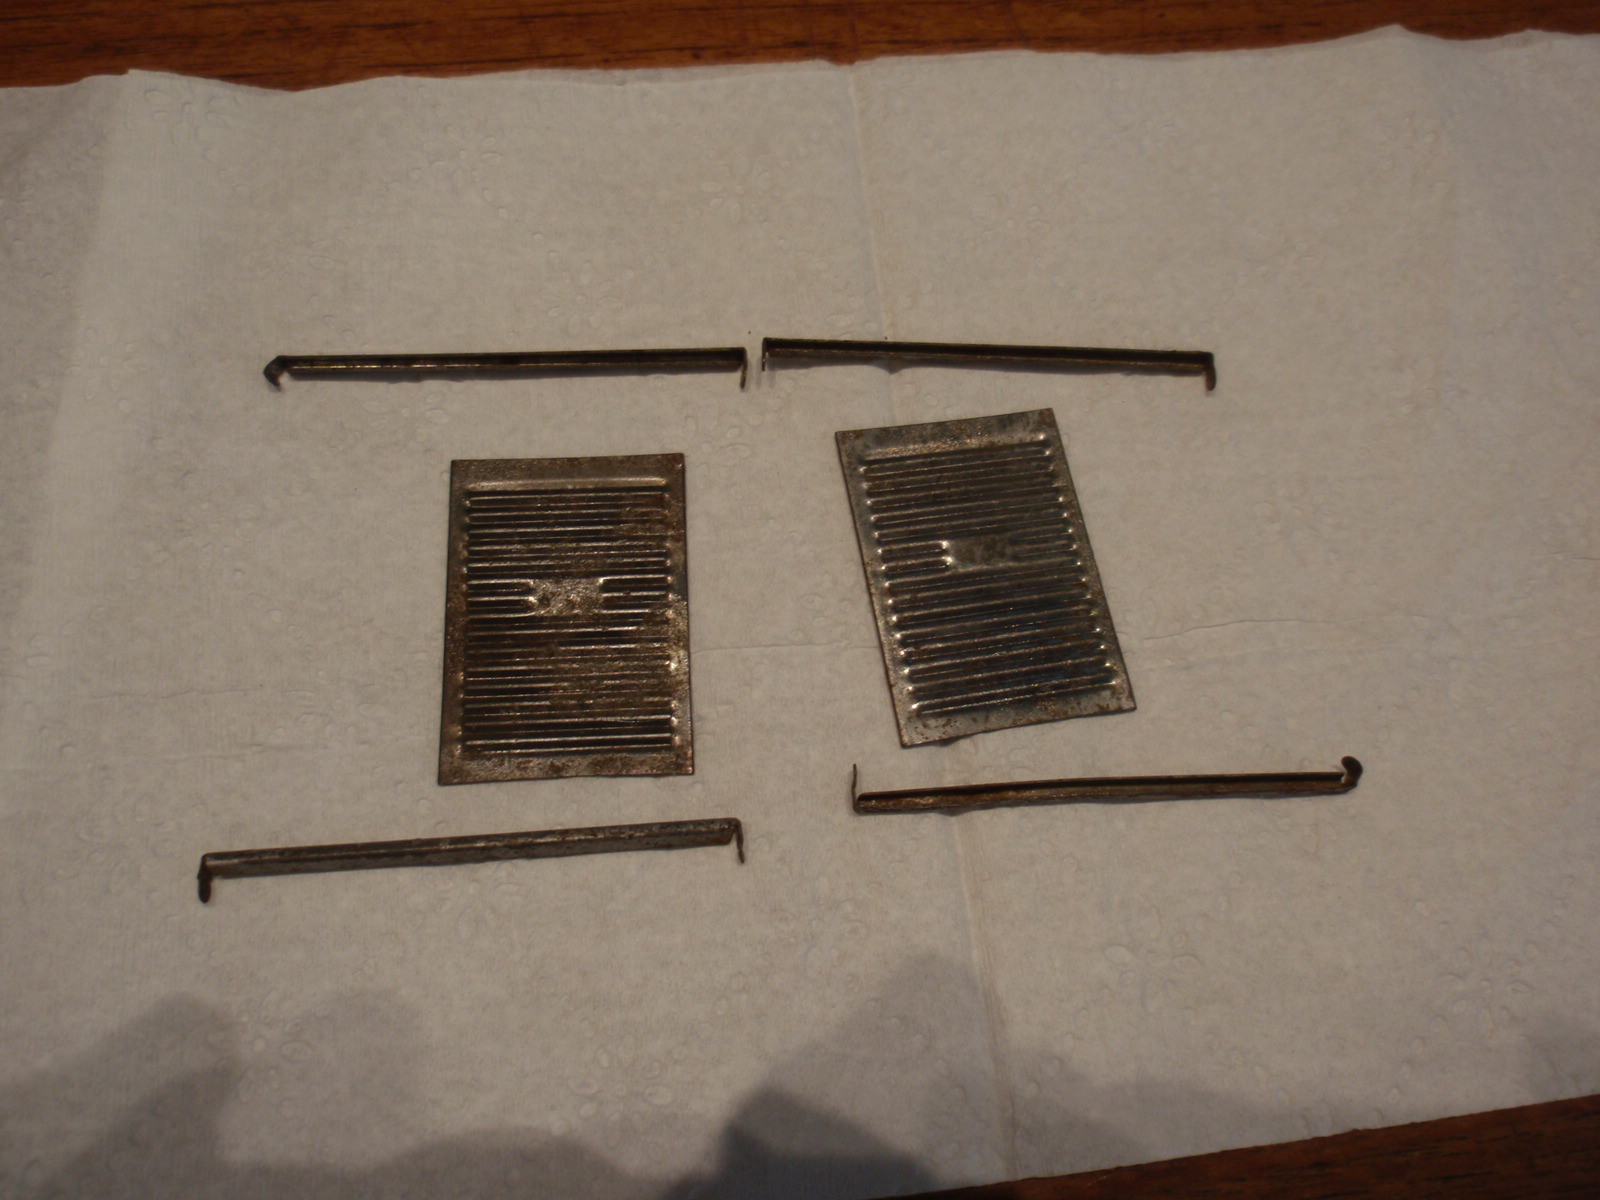 Doors After Out of the vinegar, washed and dried. Just a little scraping - maybe 45 seconds for all 6 pieces. |
 More Doors After the vinegar de-rusting overnight. The track looks pretty clear. |
 Under After This is the undercarriage after the wire brush work. No vinegar used in this part of the job. The cleaning was performed with a couple of wire brushes in a rotary tool - brass and something that looks like steel. Next, some graphite powder became the lubricant. It rolls pretty well now. |
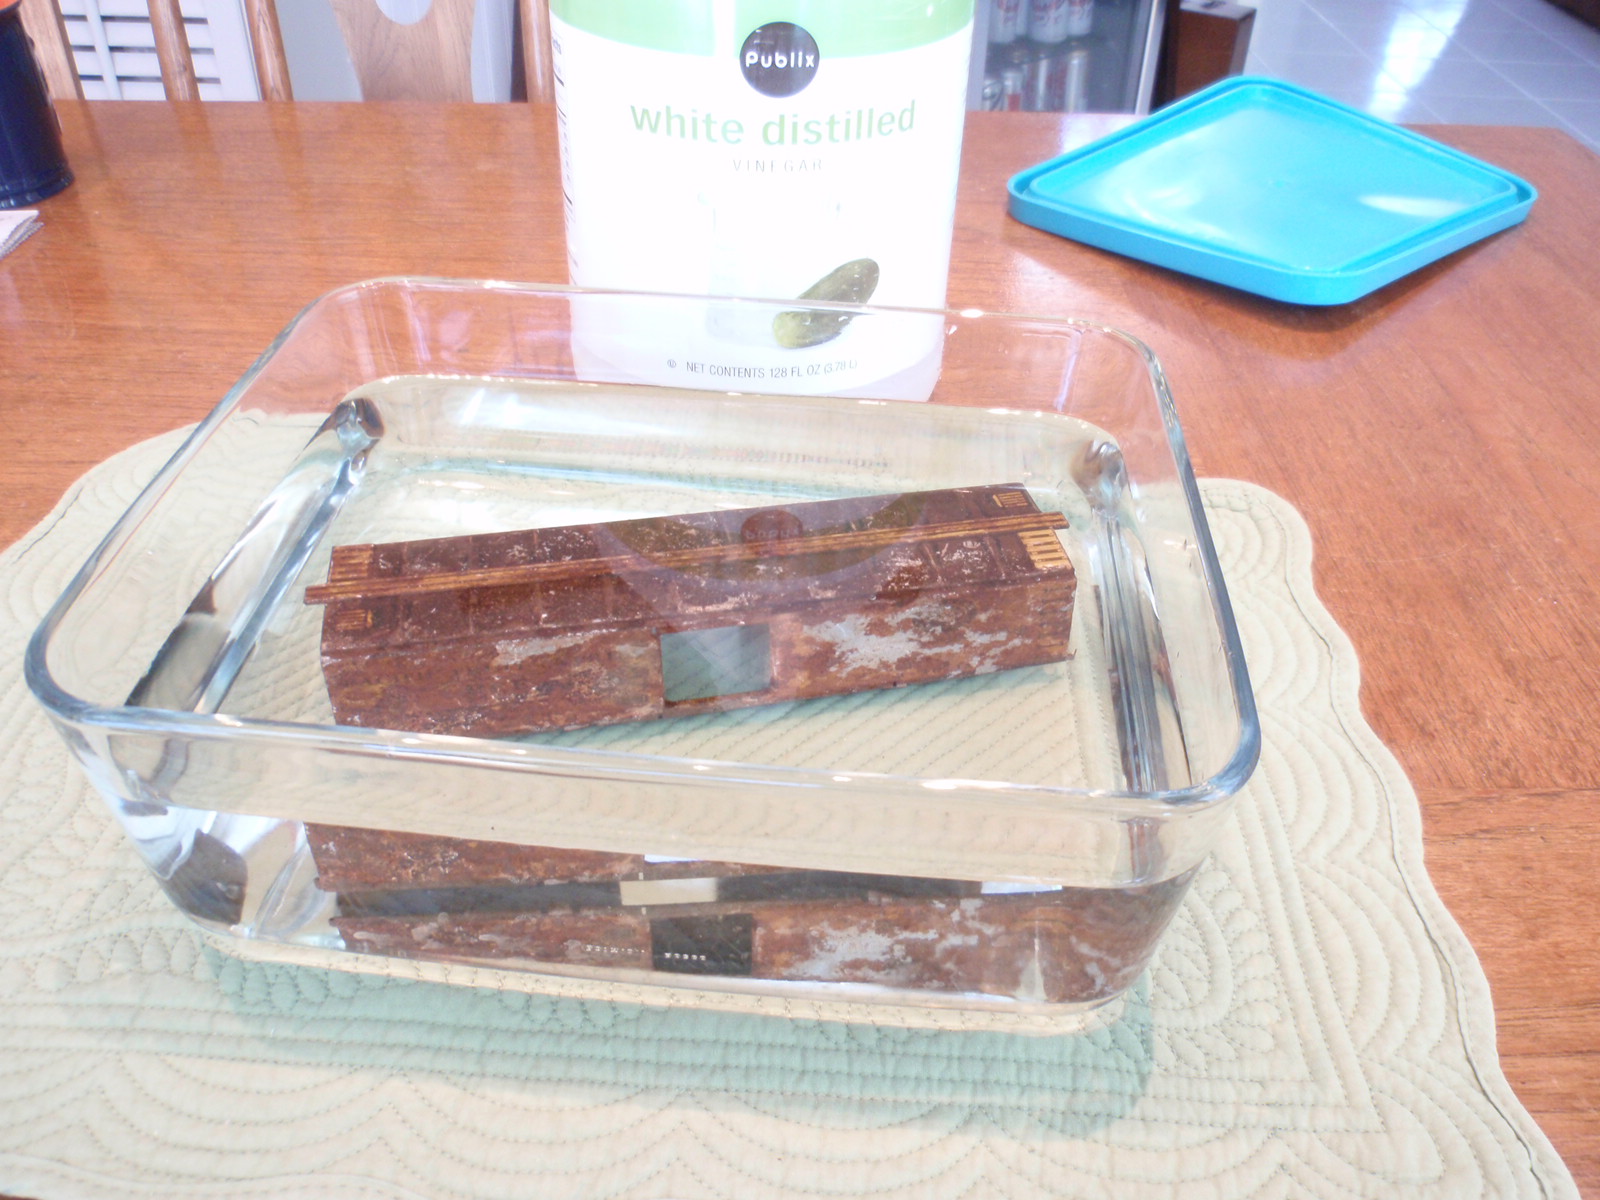 Rust Removal The sides and top are one piece of metal. Here it is in the vinegar starting at noon today, 7 May 2013. I plan to give it a nice long bath until tomorrow morning. The paint will come off along with the rust. I suspect I can save the solution after as long as I mark the bottle and keep it with the train stuff. Not good for salad then. |
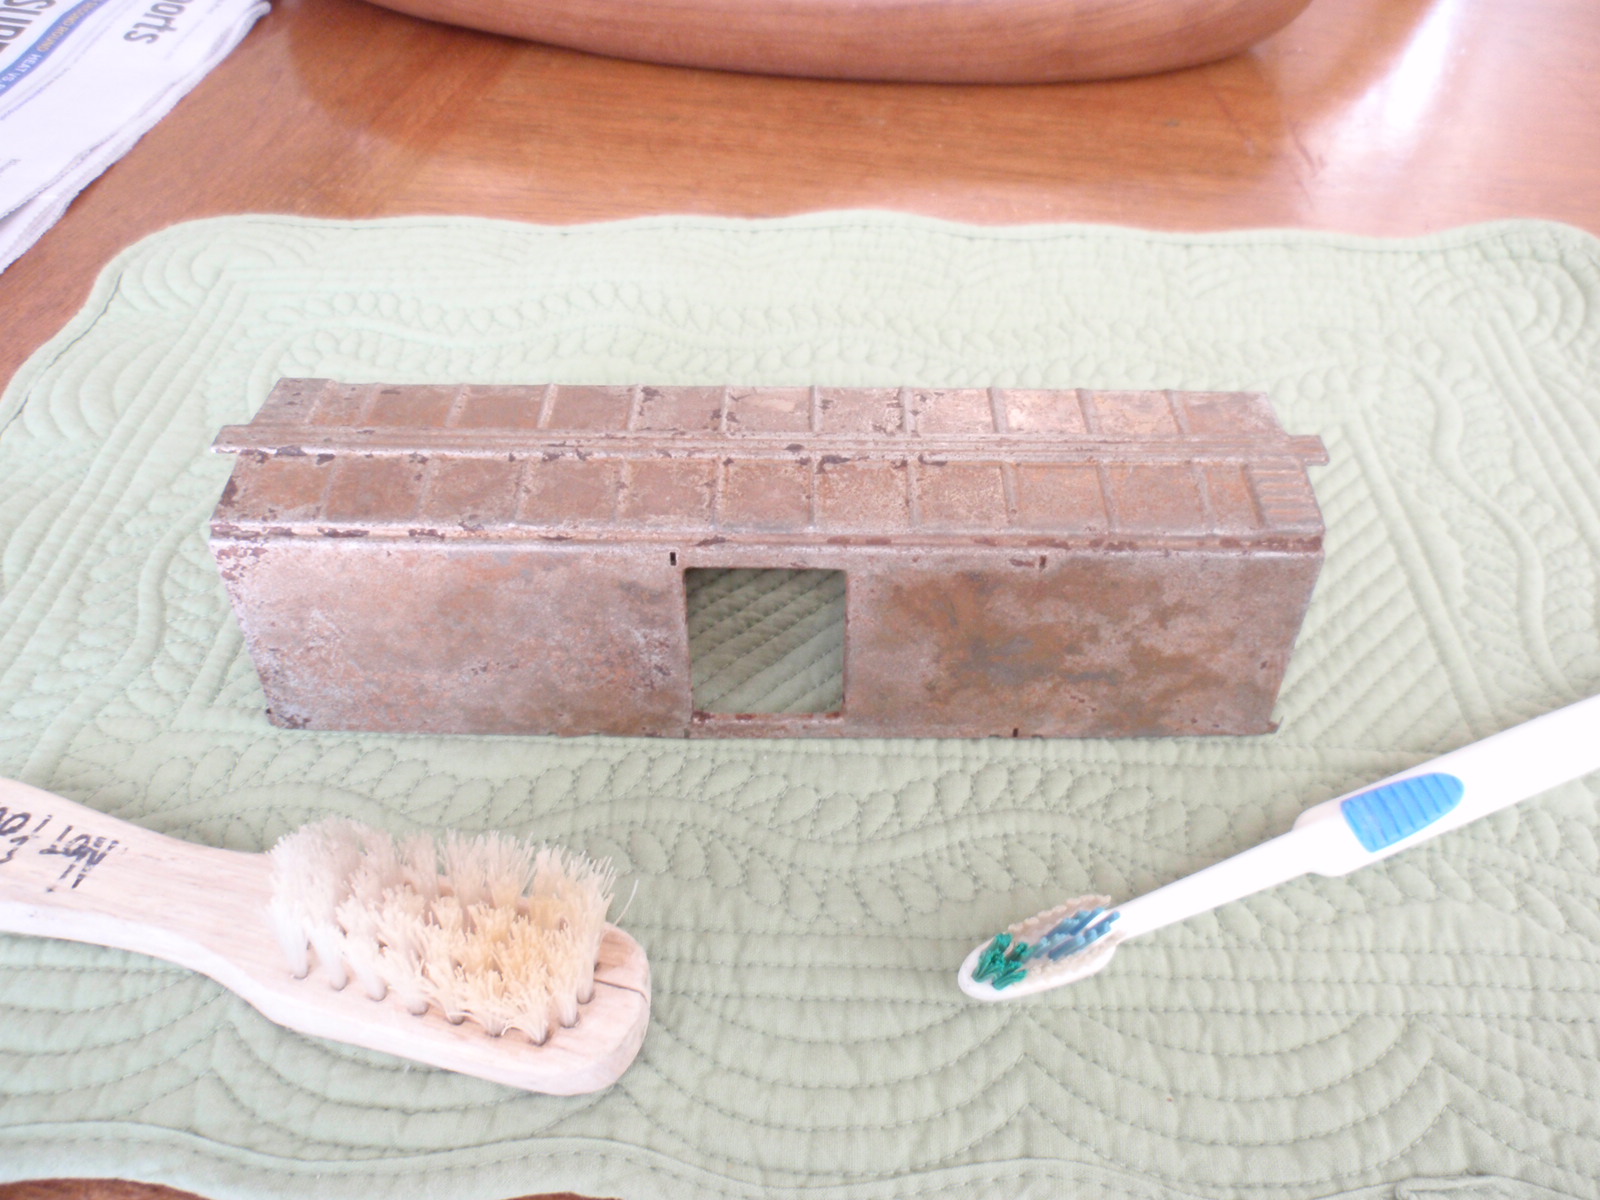 Body After After nearly 24 hours in the vinegar bath, I removed the body and cleaned it with warm water and plastic brushes. It took a bit of scrubbing to get the rust, scale and old paint off. The discoloration is not 3D. Just colors in most places. A few pits. |
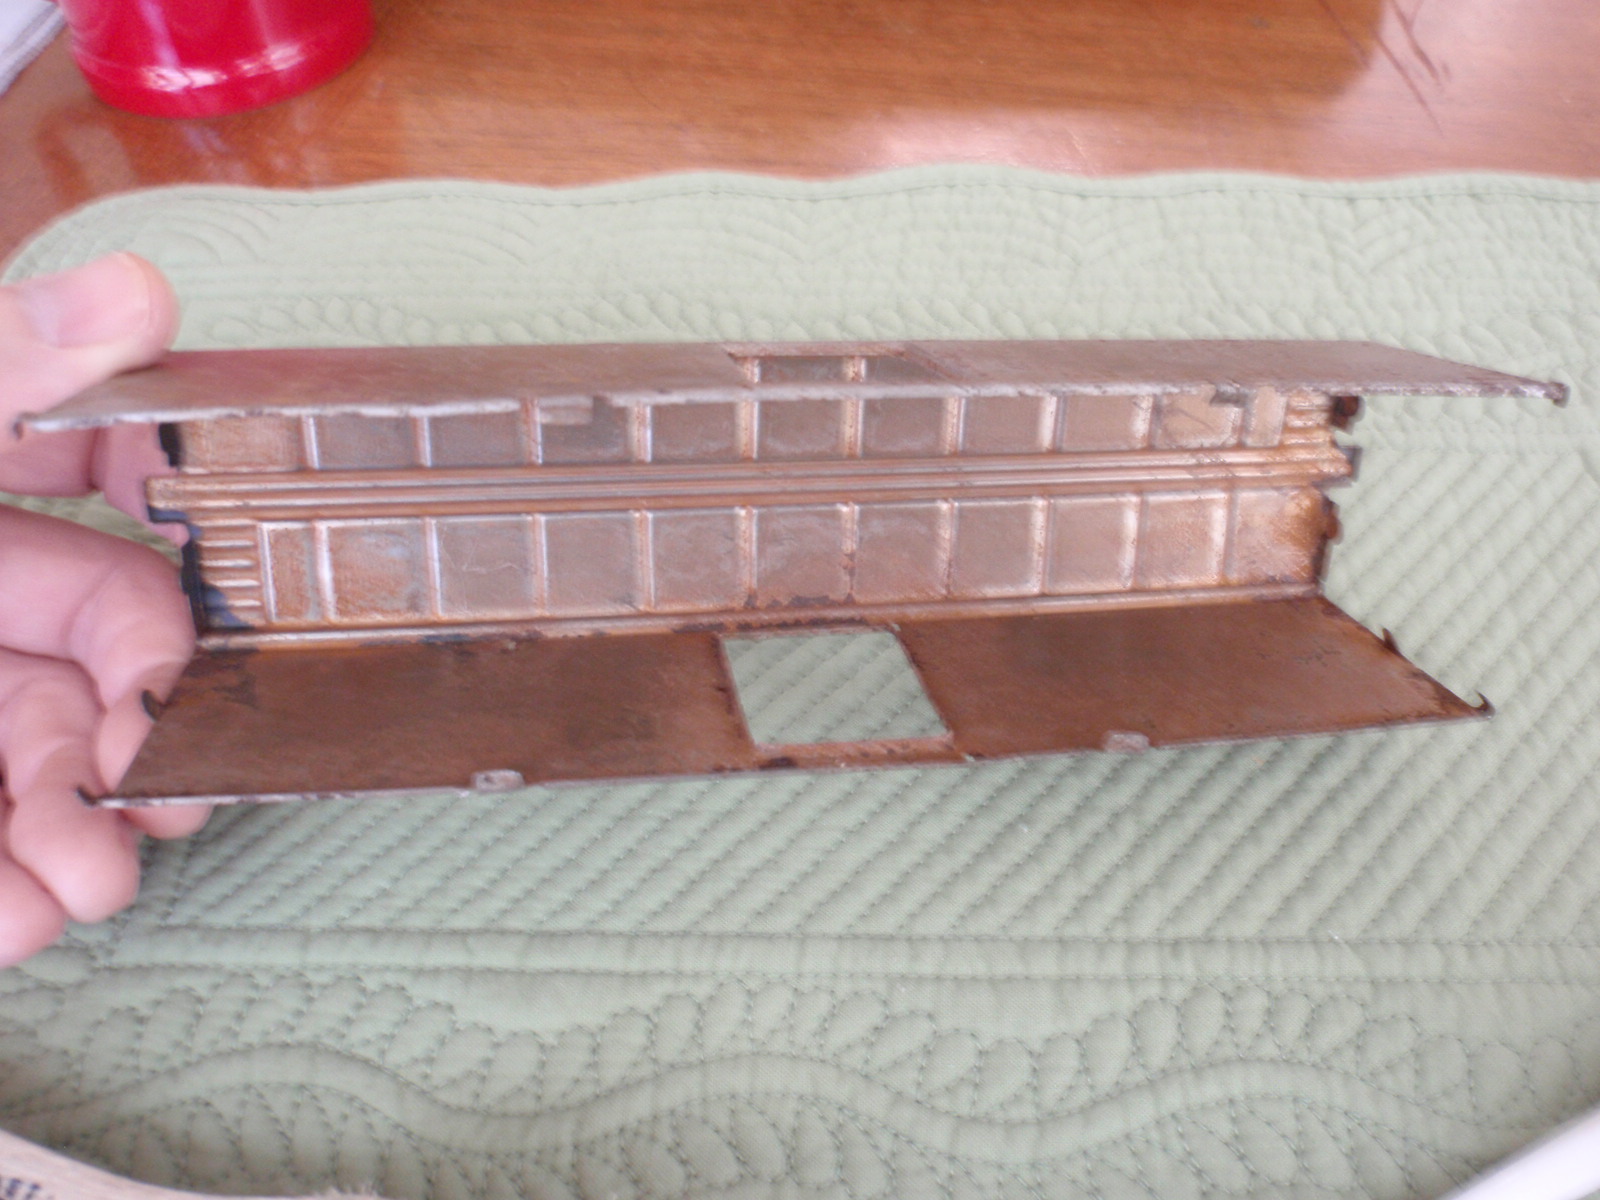 Inside After scrubbing, the body was placed in the oven at a nominal 200 degrees for about a half-hour to dry. This view shows the inside. |
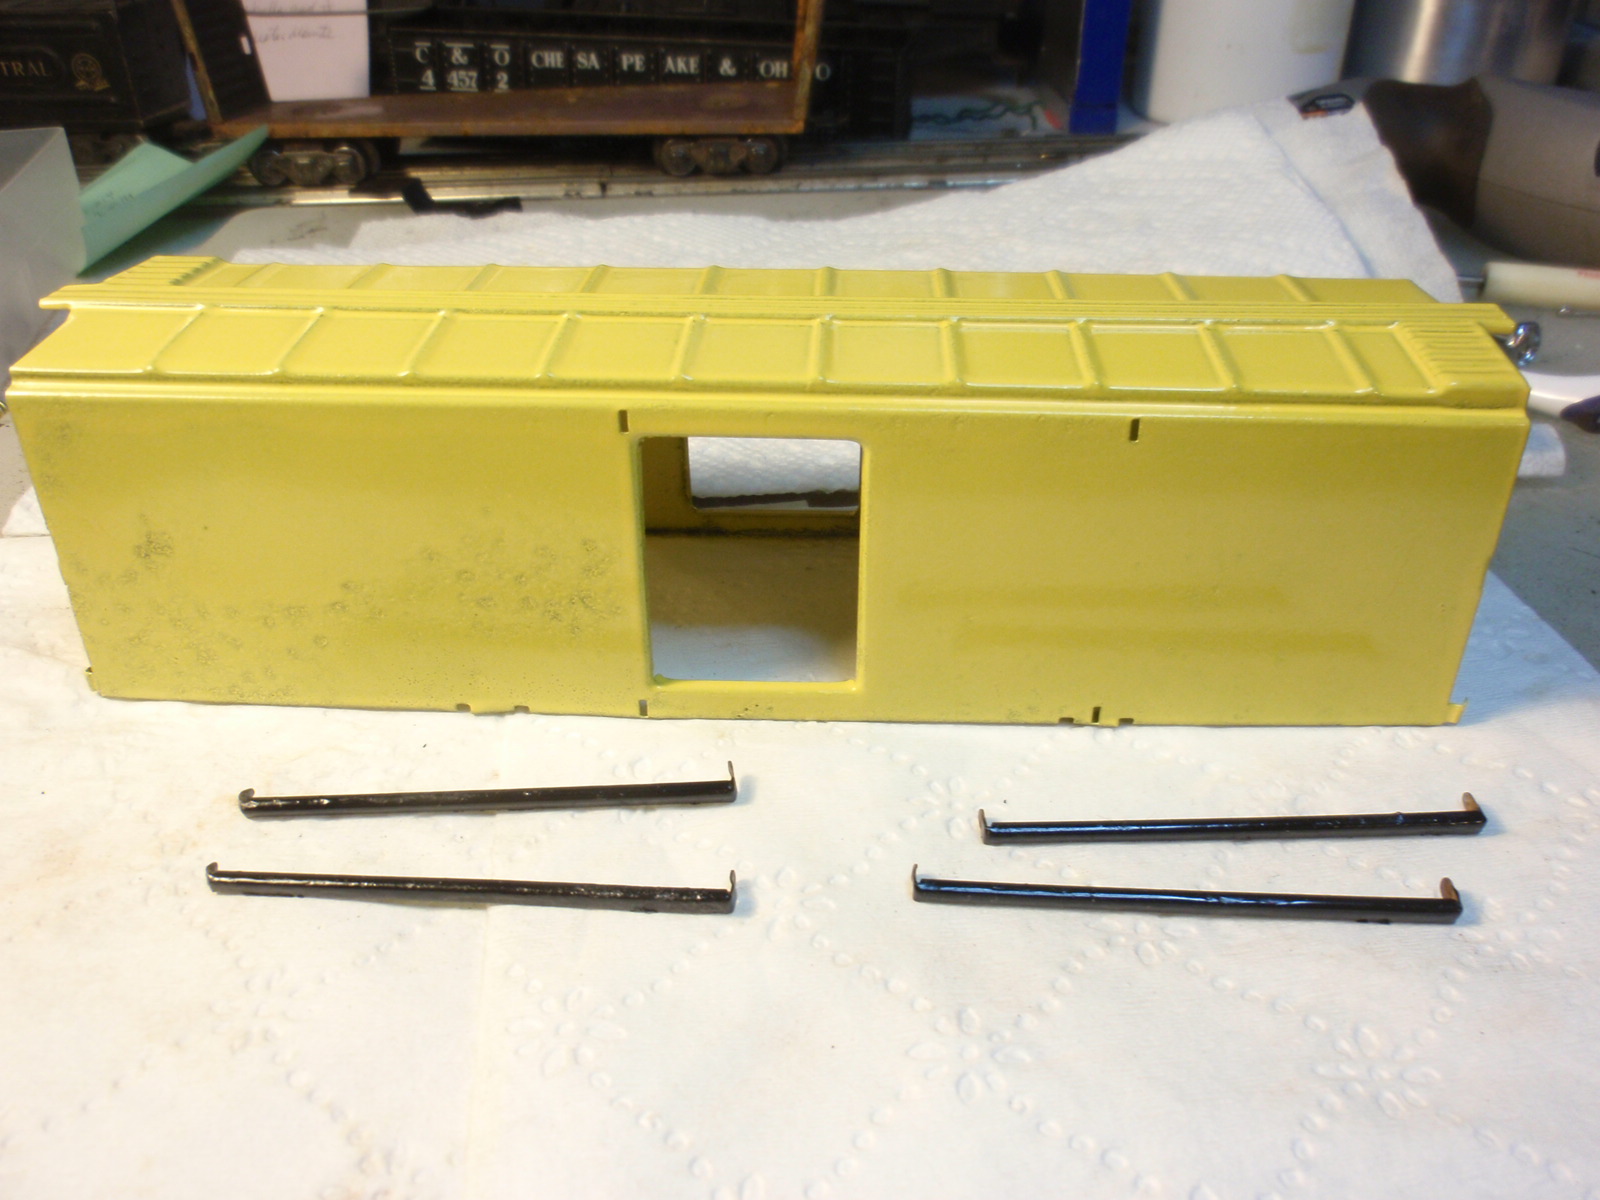 First Undercoat Two coats of Rustoleum yellow as an undercoat. The details will be in a full-side decal, so, this just needs to seal and be smooth with out too much contrast. The other side is about the same. The guides were bushed with Testor's black PLA to avoid getting paint in the groove. After an hour or two of air drying, I baked it at about 200 for 45 minutes. Dry now. |
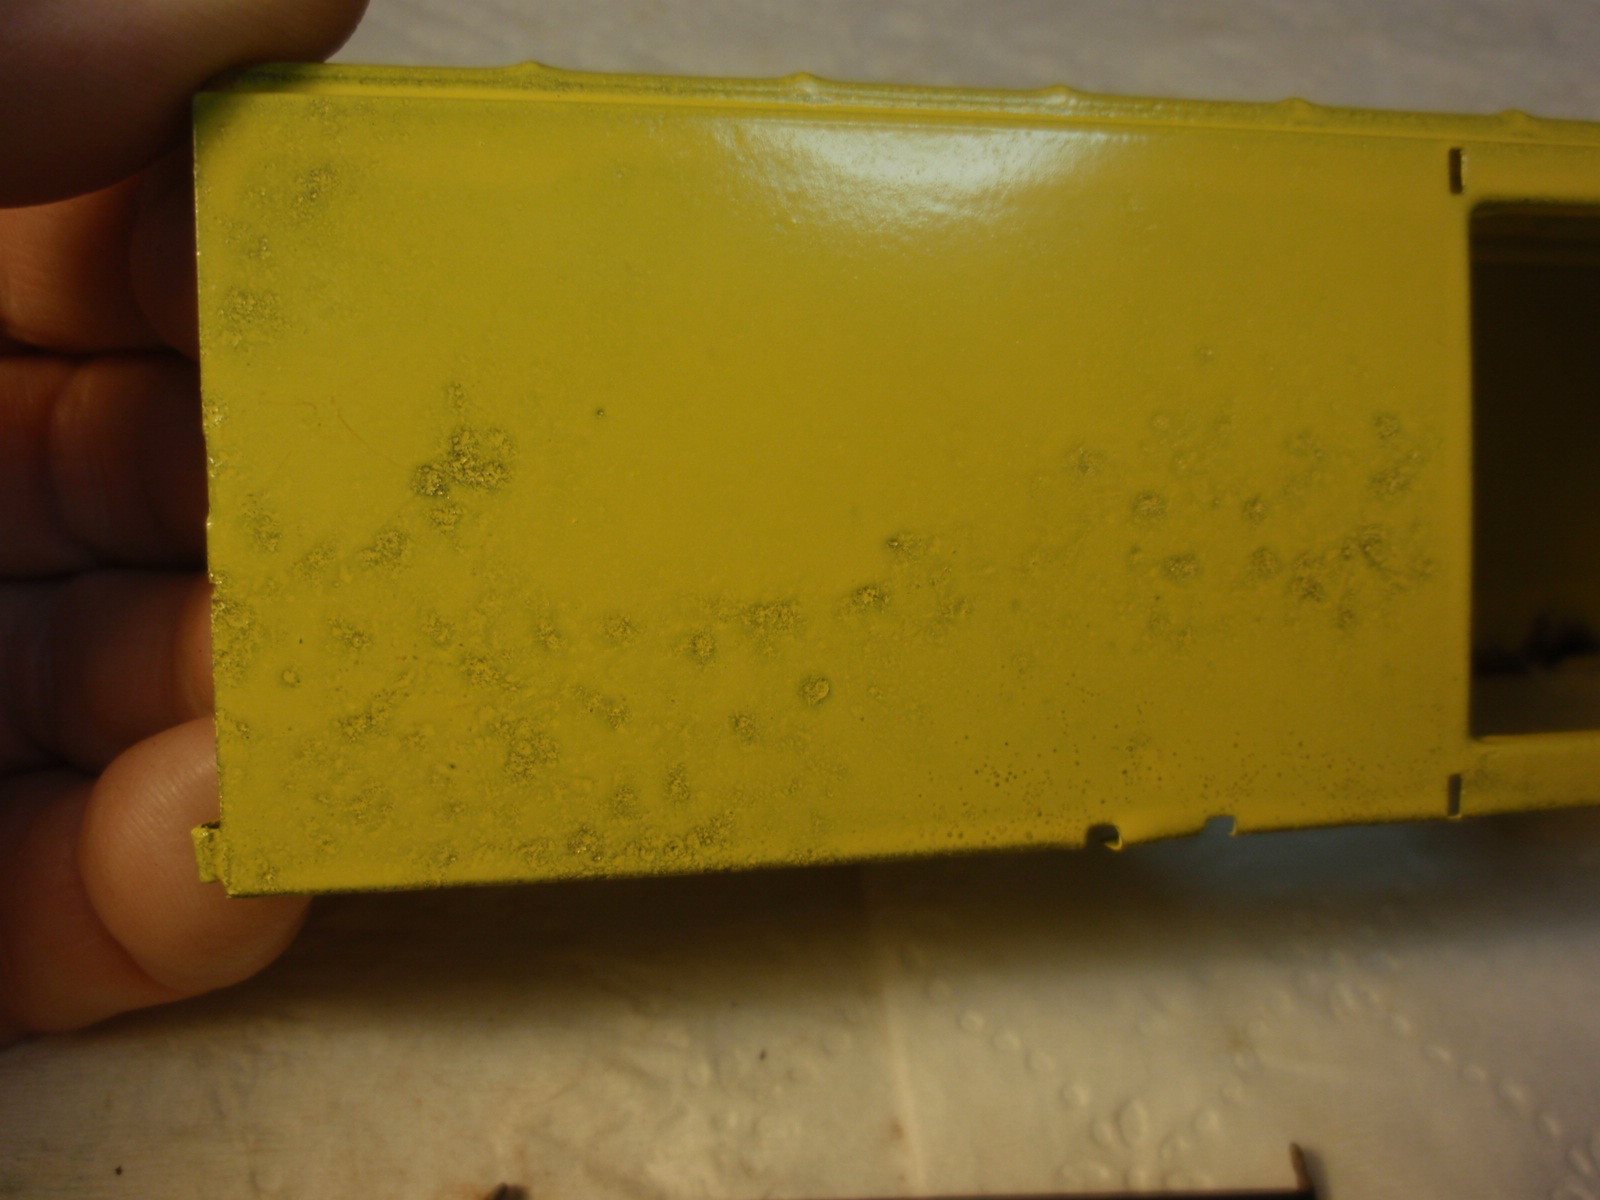 The Pits Here you can see the pitting from all of that rust. Not exactly light surface rust, I guess. The other side at this end is similar. I need to decide if I want to fill those pits in and apply a little more yellow before the black. Thinking now. |
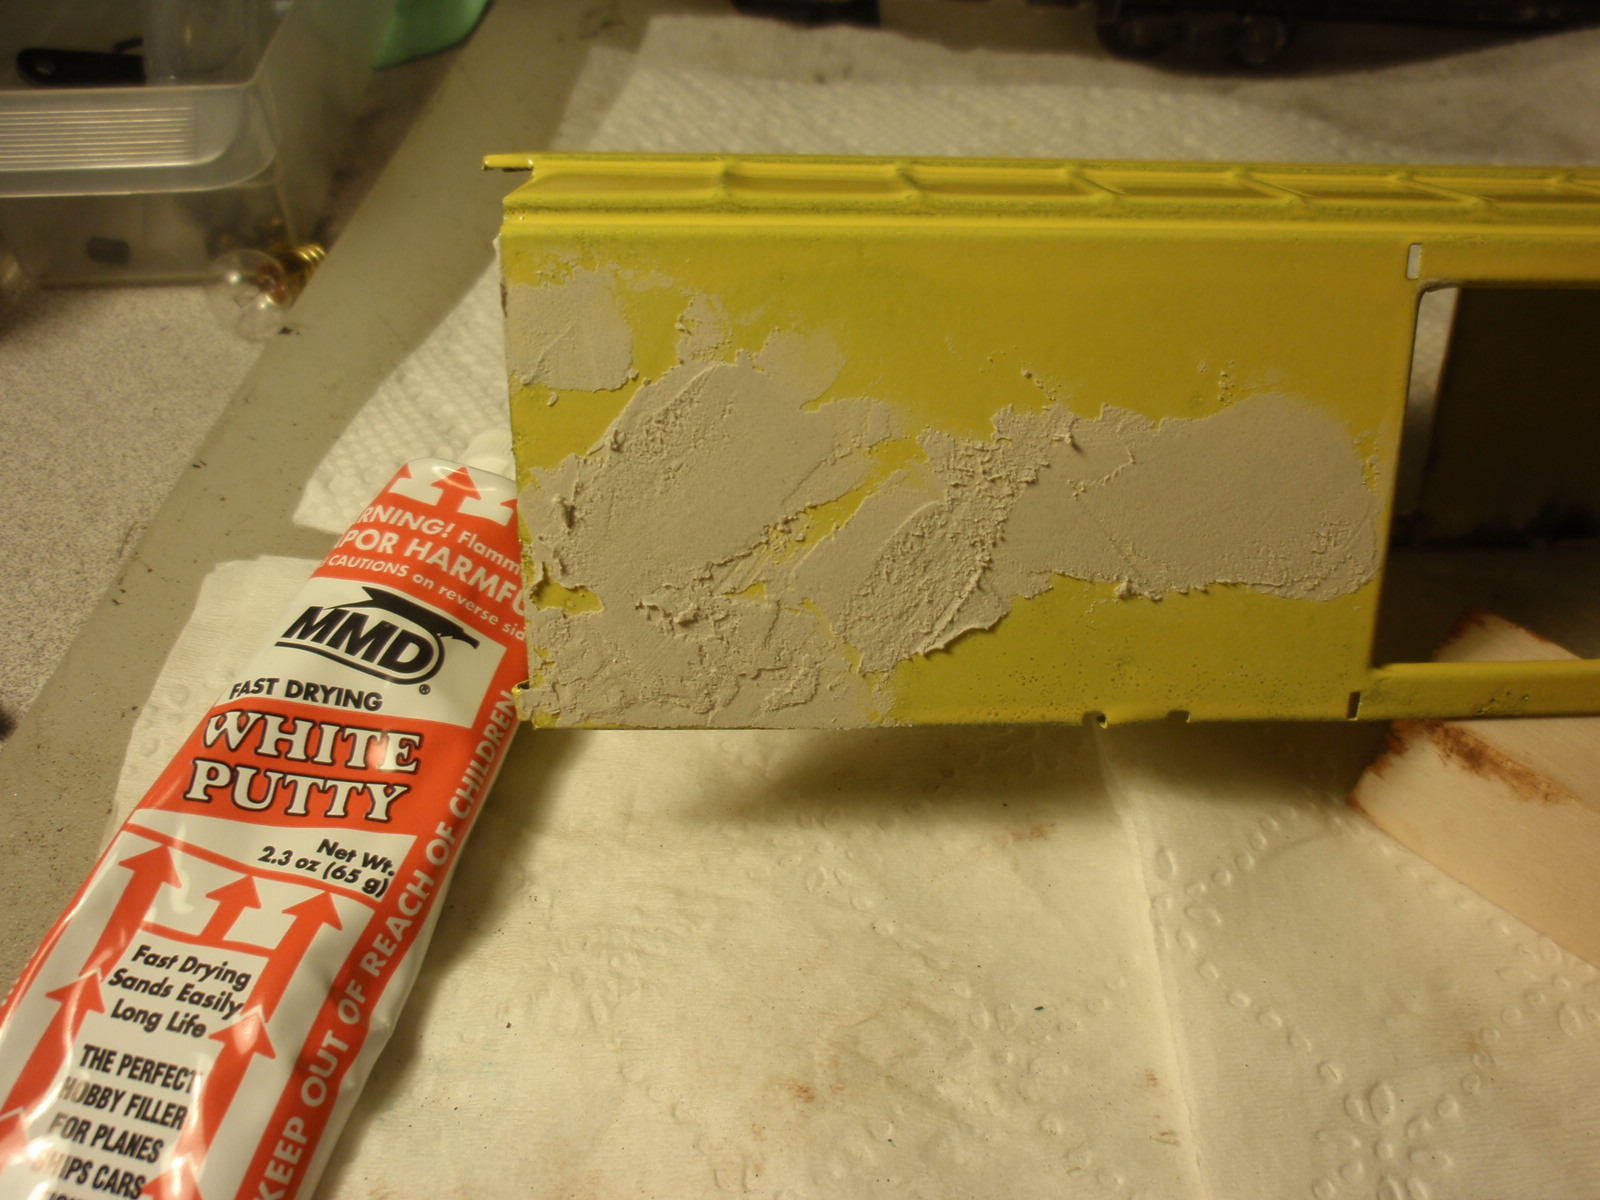 Filler Body putty to fill in those rust pits. The vinegar certainly removes the rust. But, if there are deep spots, they become pits in the metal. |
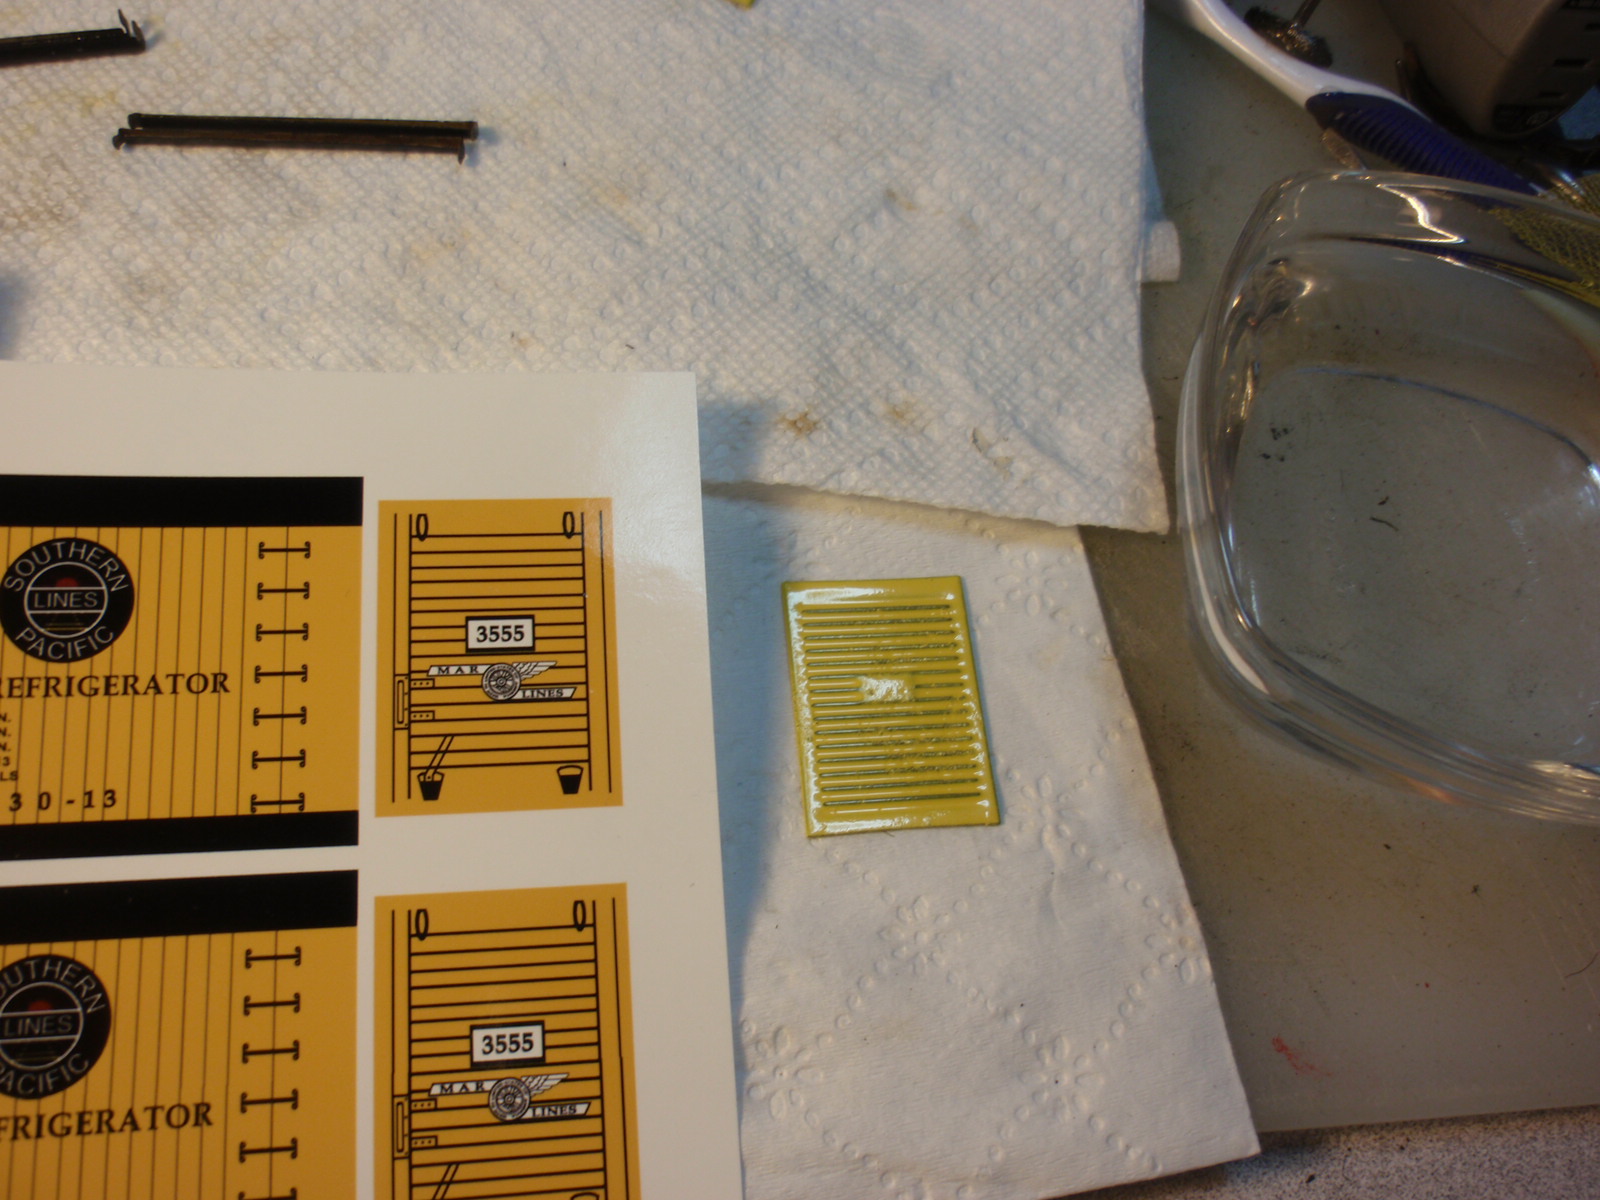 Doors and Decals One of the doors has the undercoat of yellow - just in case the decals are translucent. I don't expect that since I used white decal paper, but, you never know. |
 Coming Along After thorough drying, the filler putty was wet-sanded to provide a good surface for the whole-side decal. Decal is applied to one door and the brown paint to the roof. Now, some more drying time. Another car in the background helps to make sure that this one has the right stuff in the right places. |
 Whole Side Decal Whole Side Decal - Printed on white decal paper, it is still a bit translucent. Look close to see where the ends, door and guide slots are visible through it. My son-in-law prepared the art and saved it in a PDF. I printed it on an Epson and applied Krylon top coat to seal it. |
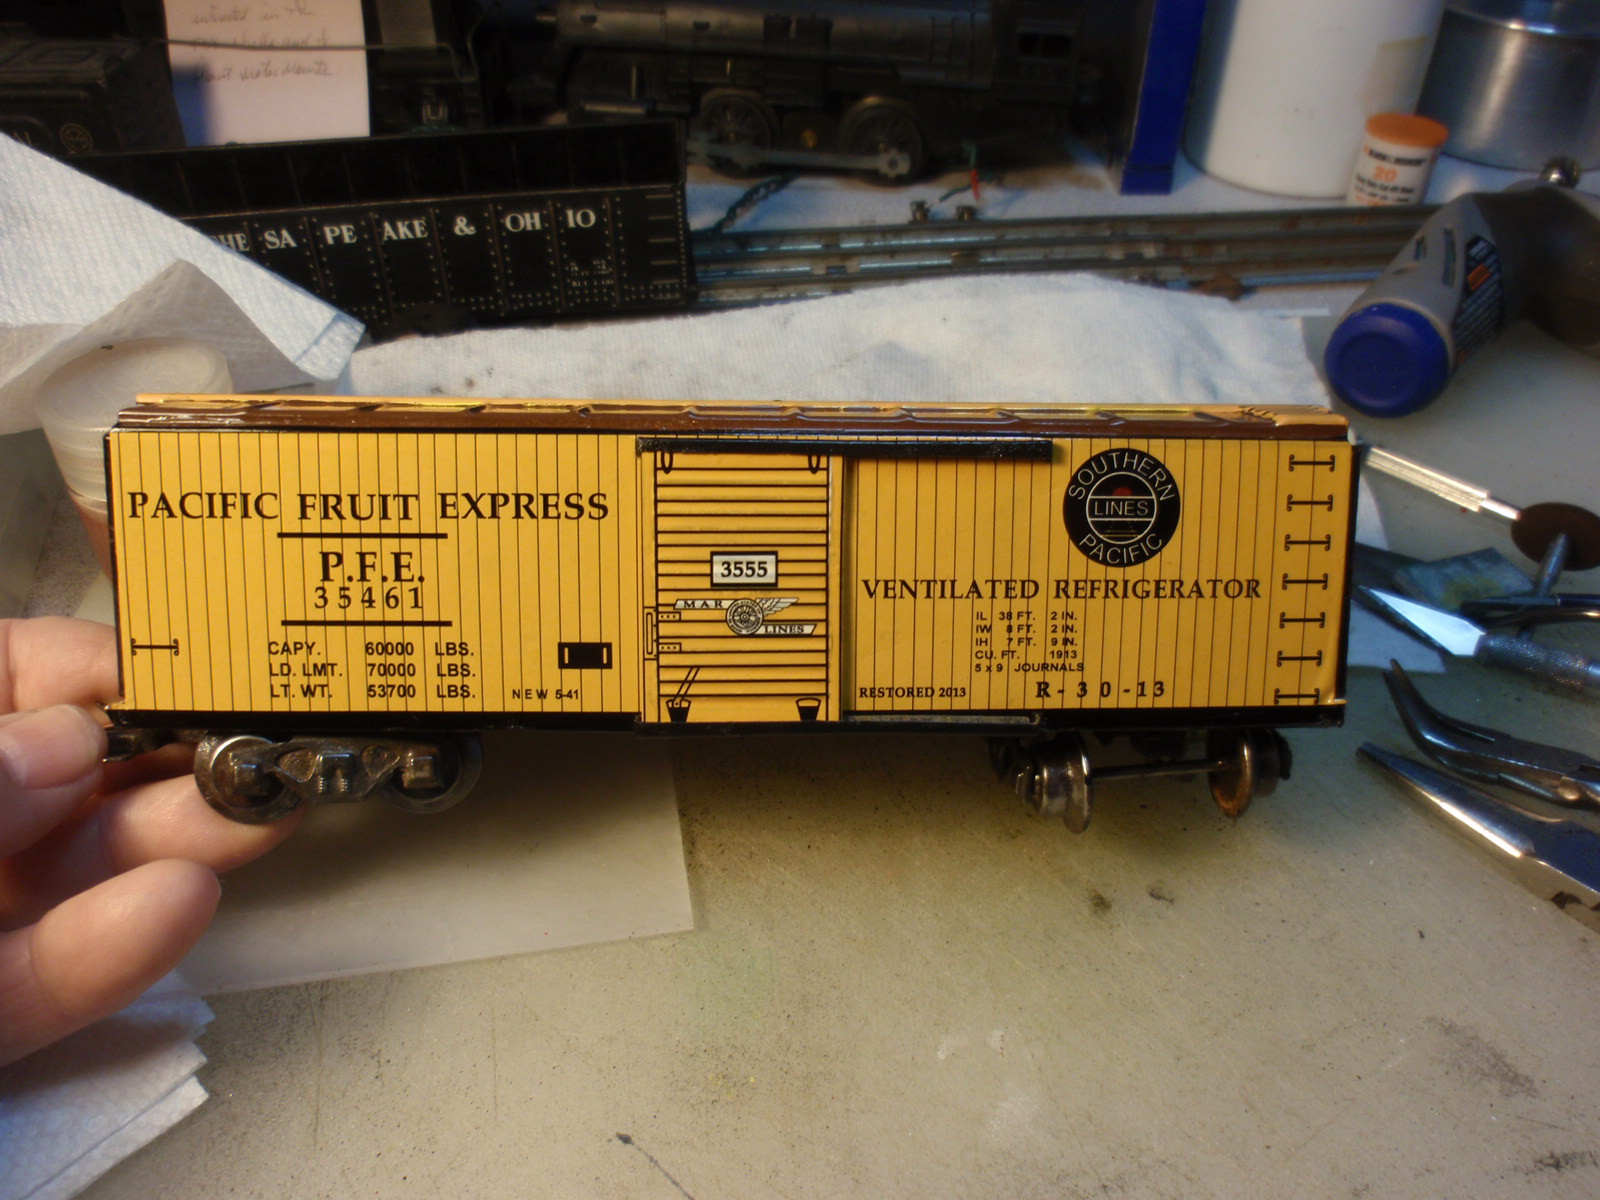
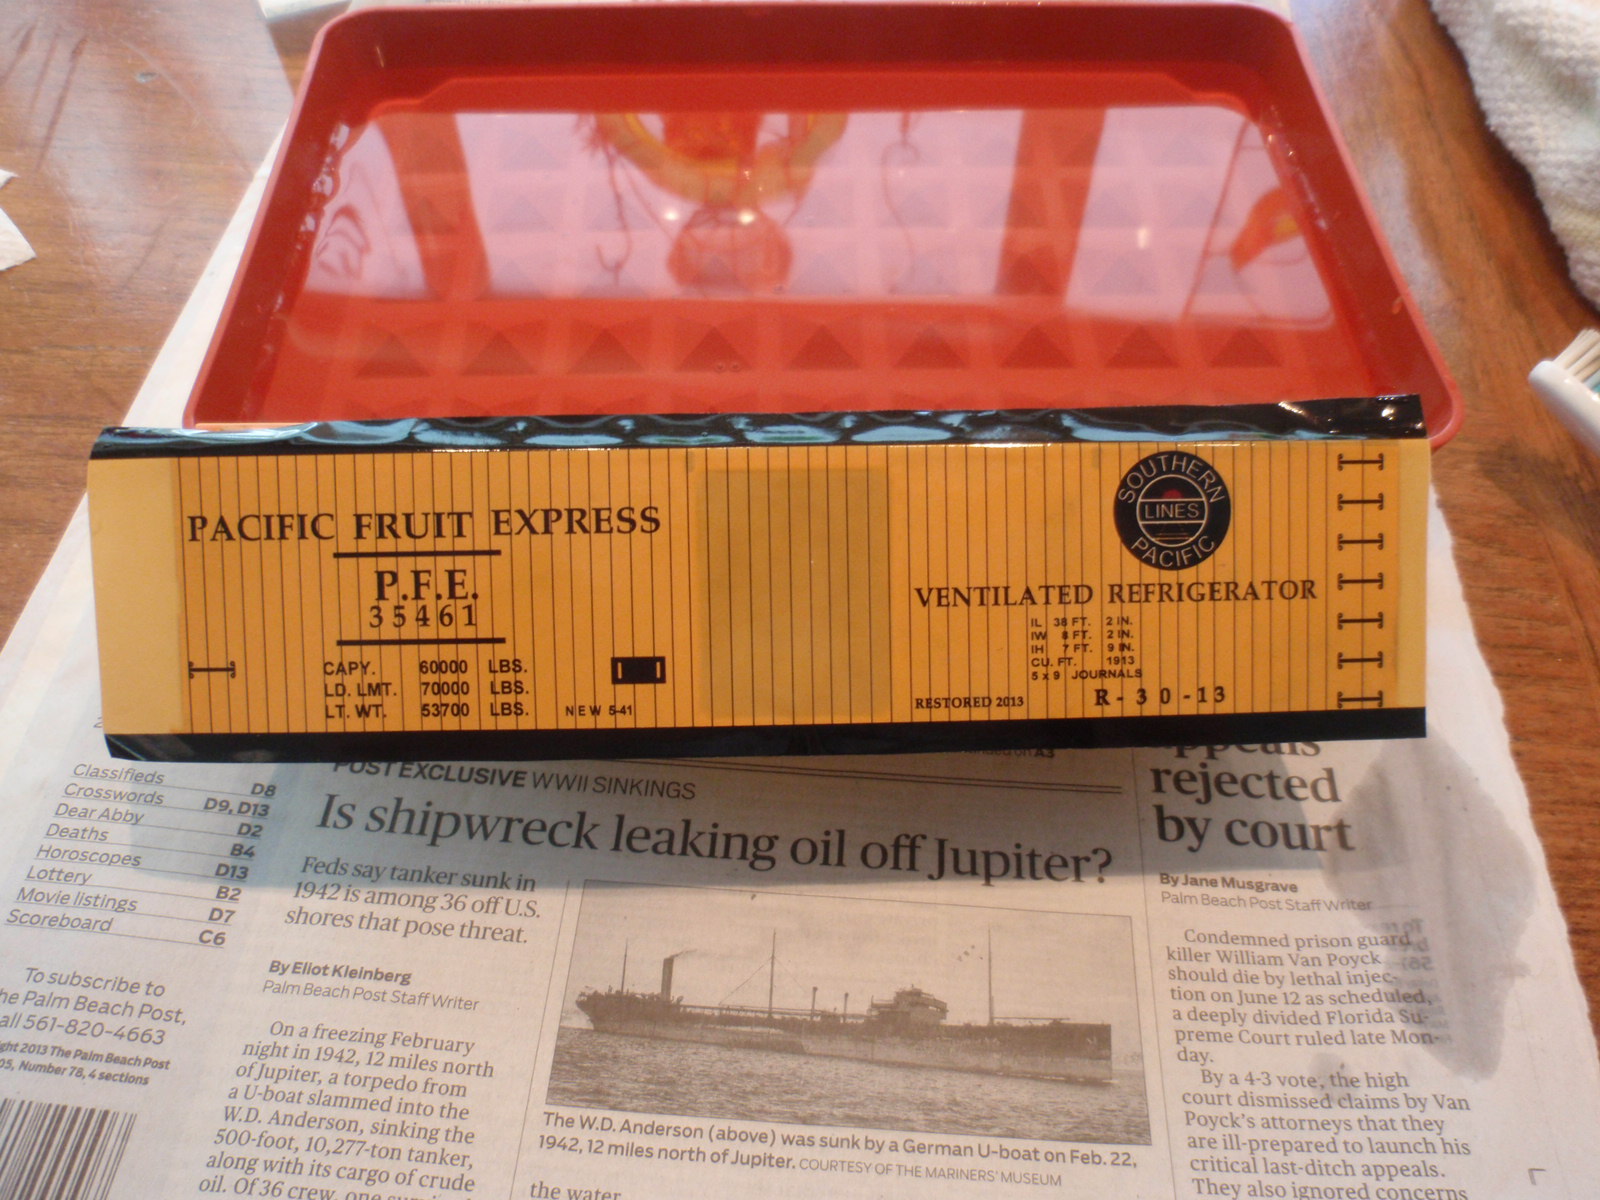
 Built In Integrity The full-side decal graphics include the note that this is a restored car. There is not much doubt since it is so shiny and I will leave it that way. |
Finished Here is the final shot of one side. My son-in-law made the graphic that I printed on decal paper. The doors were very difficult due to the compound surface corrugations. Still and all, it is a save of a rust bucket. |
| Home |
| Site and Pages Copyright 2011-2025 - William P. Porter --- Some content belongs to the indicated provider. |