
A Portable Layout in S-Scale
Portable N-Scale Layout with a Fantasy Theme
Light Weight Construction
Dinosaurs, Stargate and Improbabilium Fluoride
Just How Was It Made?
Click on this link to return to the main, Fantasy layout page| Home |
|
In the Winter of 2020, I took the layout to the last train show before the pandemic. There were many detailed scenes yet to be completed. Here is a view and discussion of how it all came to be. All of the main ingredients were finished. |
|
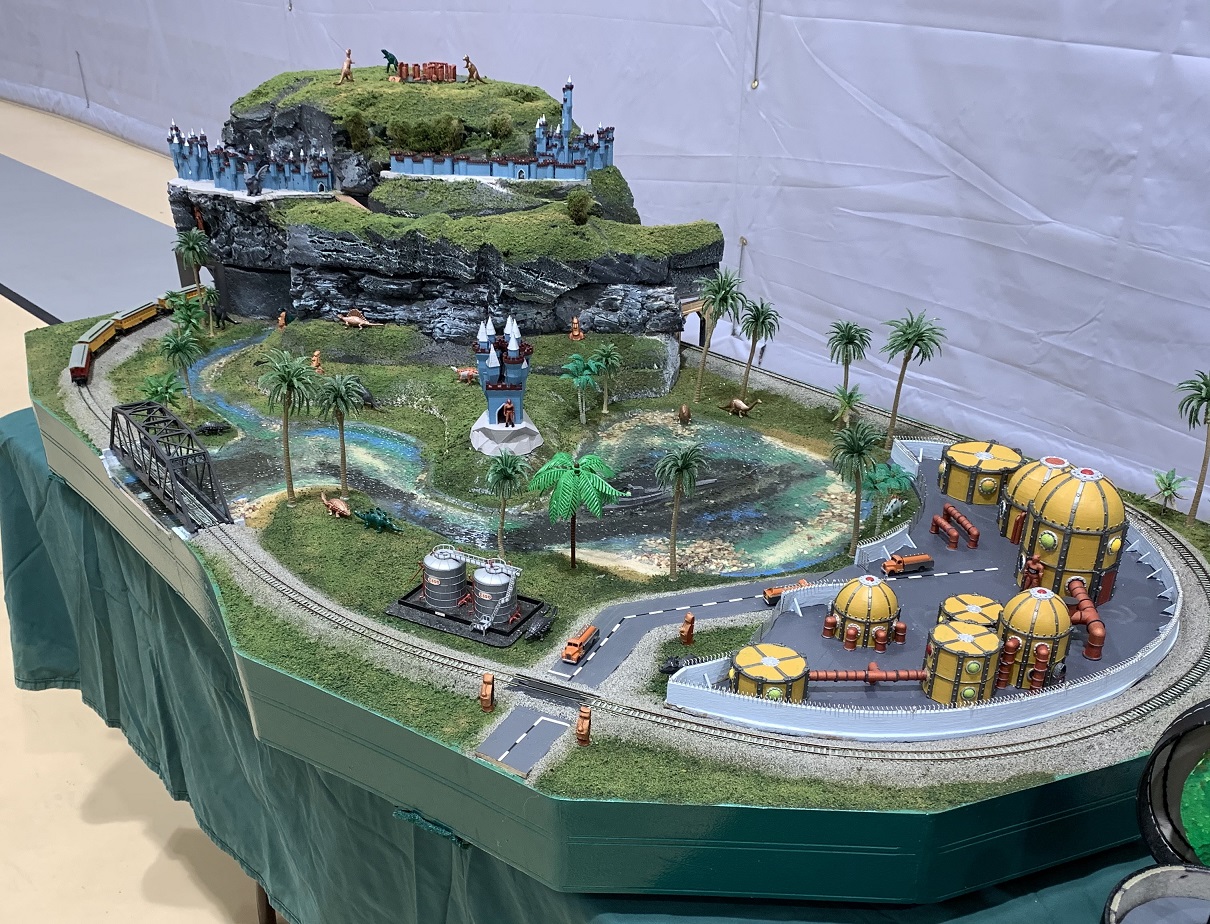 Overall View - Winter 2020 Fort Pierce |
|
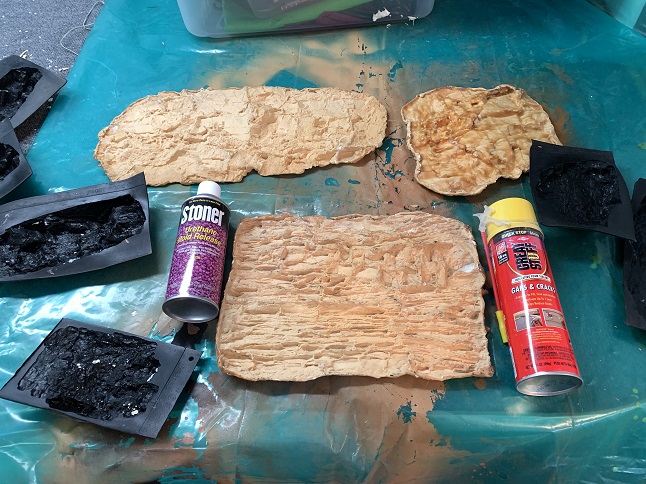 All ready to start making lightweight rocks |
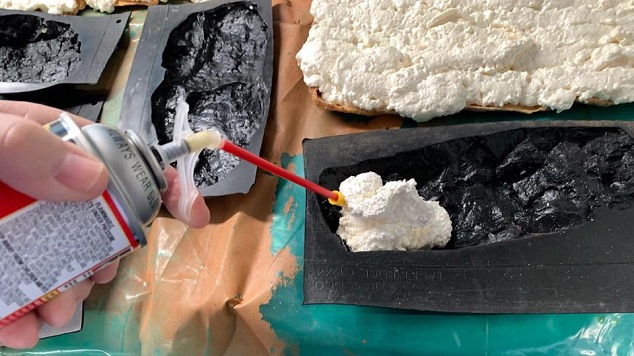 First step is to spray the molds with mold release compound. Next, Great Stuff foam filling the molds |
 Foam Rocks - Foam starting to rise |
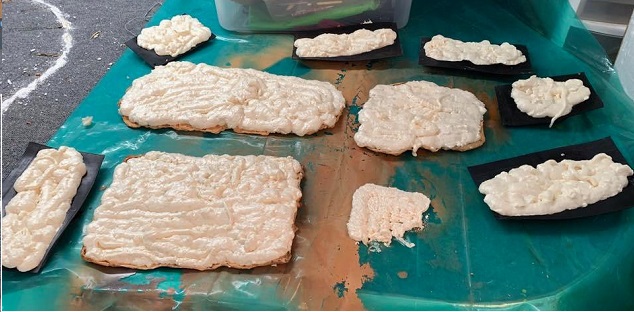
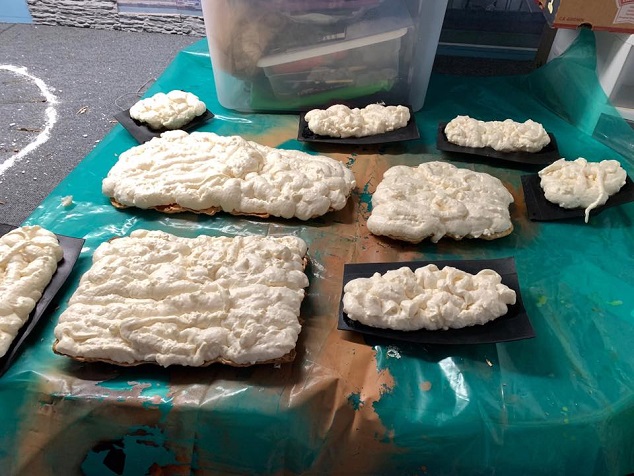 Foam Rocks filling the molds |
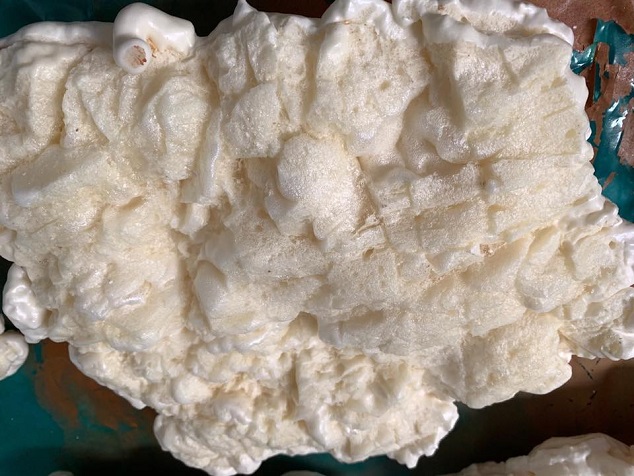 Foam Rocks - Raw Surface from inside the mold |
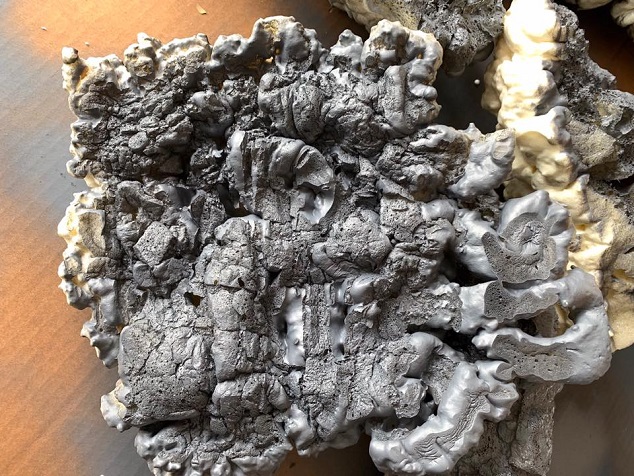 Spray a base coat of a convenient, rock-like color. Even the unavoidable bubbles in the mold look pretty good. |
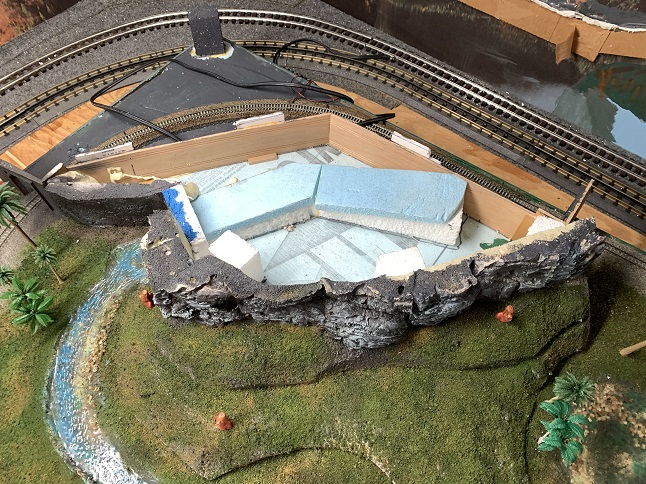 The layout base also has the base for the lift-off mountain. As you can see, the base is mostly salvaged pieces of Styrofoam glued together with carpenter's yellow glue. |
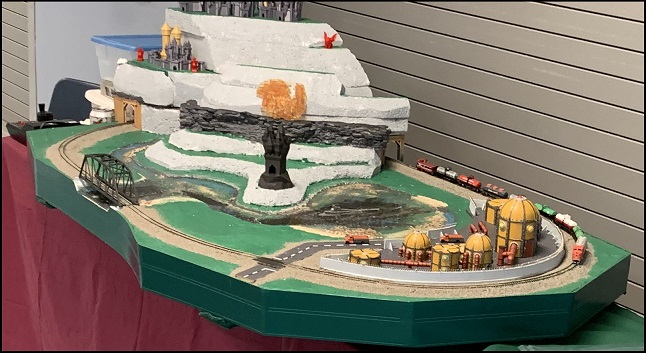 Photo 28 - First Draft of Great Foamy Mountain - Foam sheets stacked and glued together. This view shows the base with surface paint applied and the track secured using the standard bonded ballast technique. The track is temporarily spiked to the cork roadbed. In this case, there are two layers of cork. The first is HO scale cork strips that is glued to the foam base with yellow carpenters glue. Then, strips of N-Scale cork are glued on top of that. Once the track is installed, tested and running smoothly, commercial ballast rock is spread and secured with dilute white clue. The result is rock hard and very robust. The track spikes are pulled for reuse. |
 Trial fit of the roughed in mountain shape You can also see an orange colored casting. It is epoxy that was poured into a standard rock mold after mold release compound had been sprayed on. Epoxy rocks are lighter than plaster castings and less susceptible to chipping when the layout is moved. |
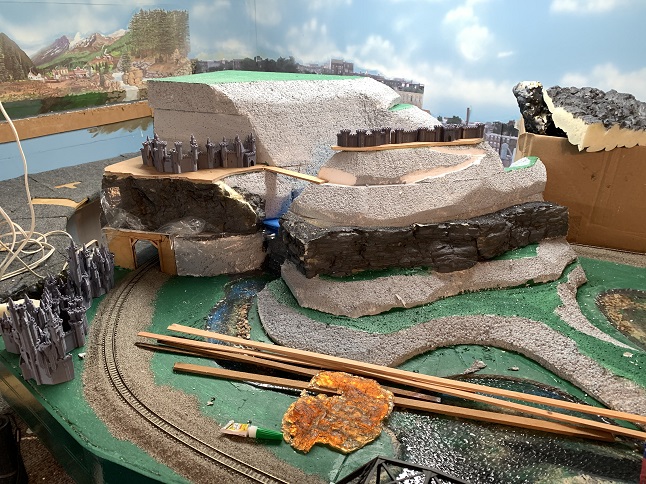
 Side view showing the layers of cheap foam sheets that form the main shape of Great Foamy Mountain Some of the surface has been covered with commercial ground foam products secured in the same way as the ballast rock. The 3D printed version of Stonehenge is sized to fit and close to N-Scale. I call it Foamhenge. |
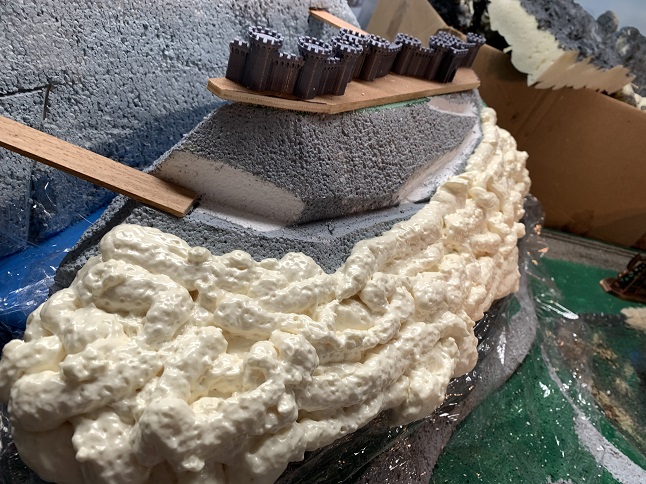 A sheet of plastic wrap sits on the base. Then the rough mountain is settled in place. Next step is to apply more spray foam to make a good fit and an improved contour. |
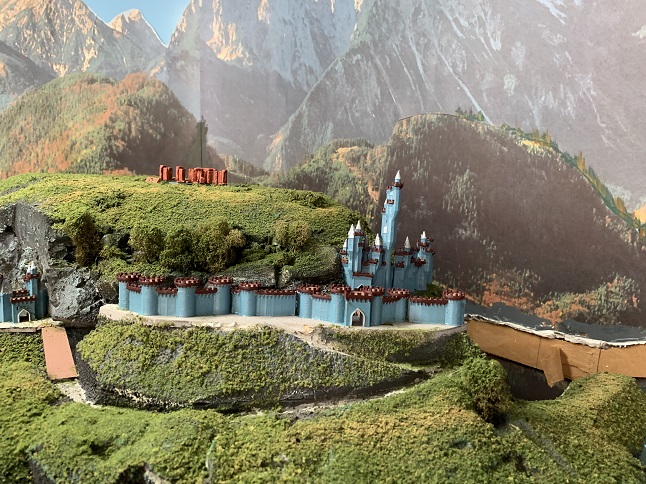
 Castle Walls atop the foam ridge |
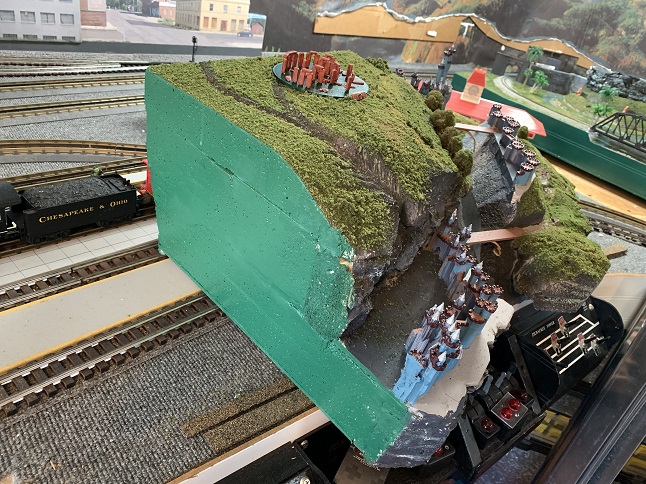
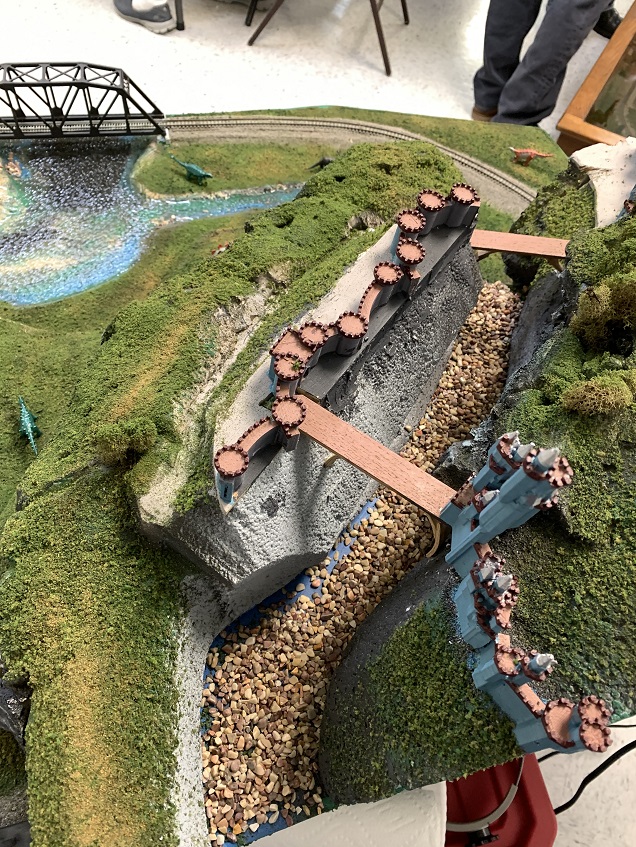 The spray foam was carved and the canyon river bed populated with stones. The simple wooden arch bridges provide a way for the little people to travel from the main part of the mountain to the battlements. Oak strips were thoroughly soaked and then bent to shape. |
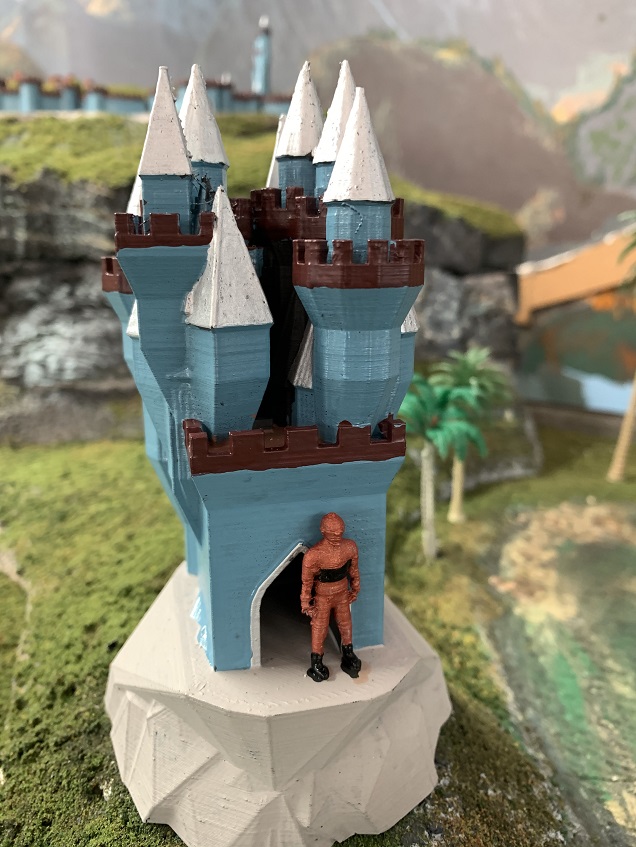 Section of 3D printed castle used as a guard shack on the approach from the lowlands, with a Gort as guard, of course. |
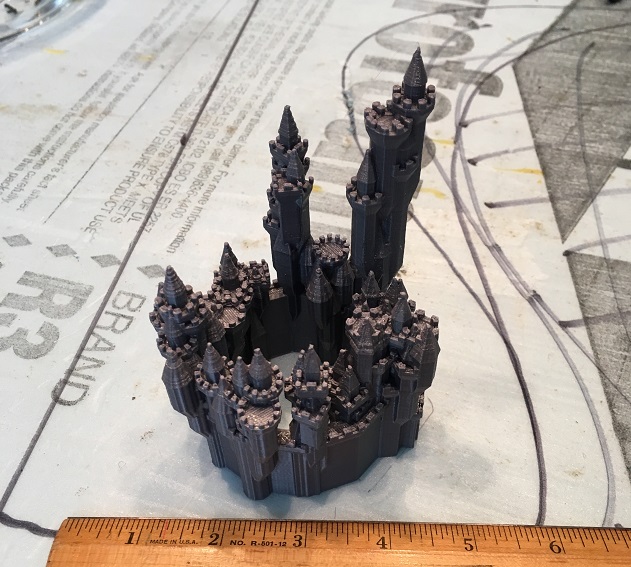 The pattern for the castle parts was a generator program. The user could specify the number of sides and the complexity. Then, the little program generated a matching Stereolithography (STL) file. The file could be scaled as desired in the 3D printer slicing program. |
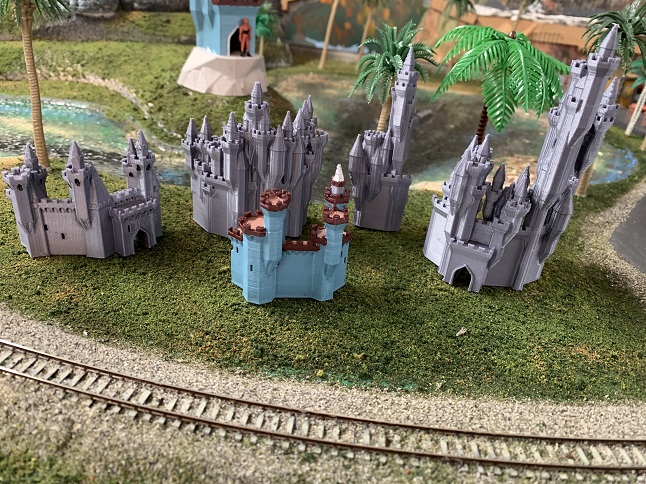 Once I had a few printed little castles, I cut them up to make handy sections and painted the gray plastic. |
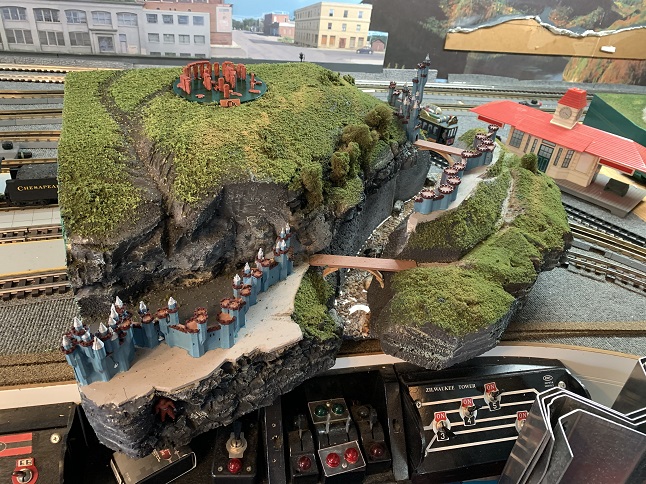
 Mostly completed Mountain Top |
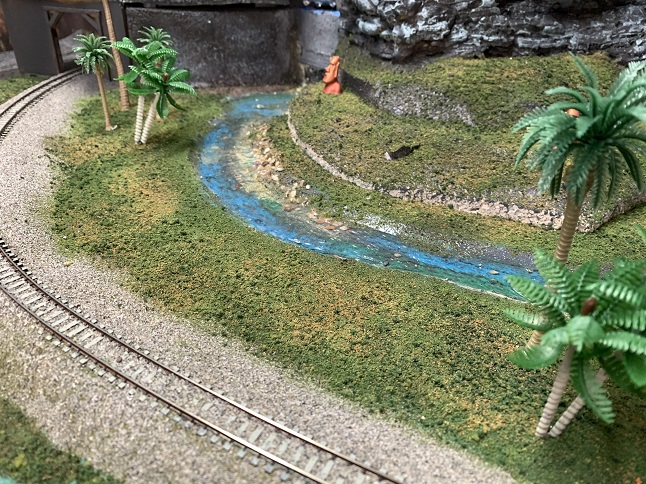
 Water in the gorge is in place |
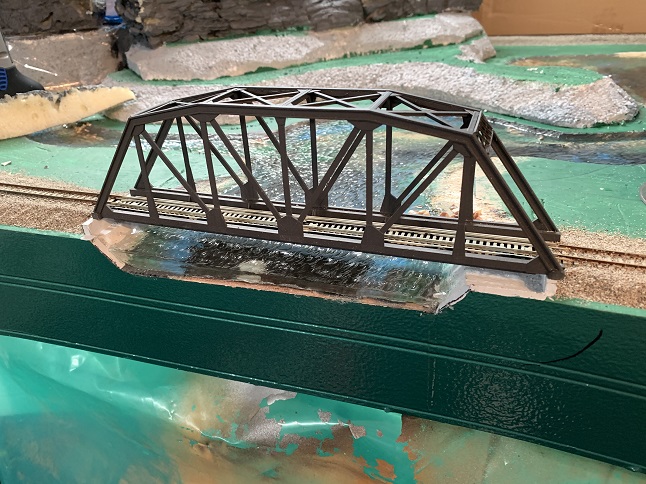 Bridge and Stream |
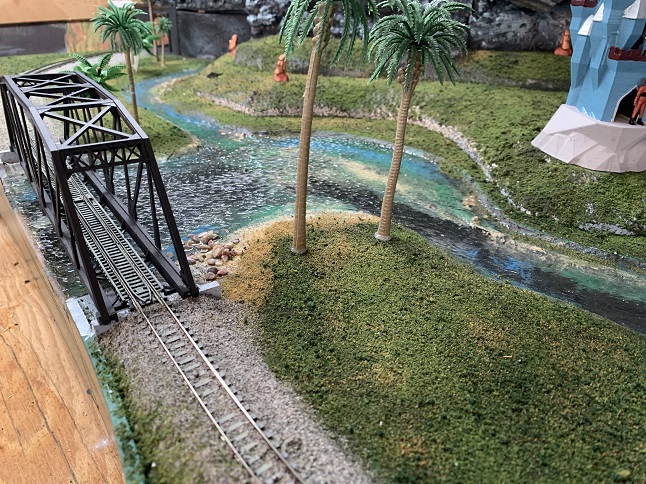 Mountain Stream |
|
The water is made of epoxy resin poured into the stream bed and lake bed. Then, a rotary tool is used to cut waves and ripples into the surface. Finally, a coat of high closs varnish is applied to hide all of those scratches. |
|
 Mountain Stream - upstream |
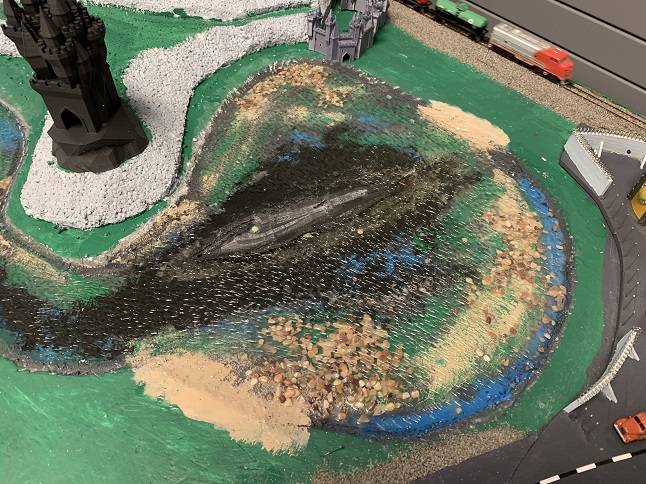 Nautilus Basin |
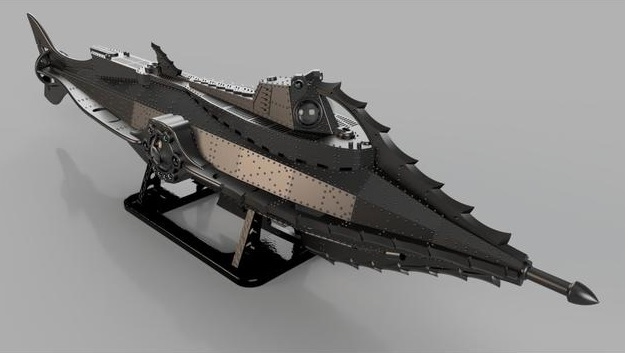 Nautilus on Thingiverse - The Overall view assembled The Nautilis as described in Verne's 20,000 Leagues Under The Sea would be about twice as long as the one on the layout if made in strict N-Scale (1:160). I judged that it woould be too big for the scene. Selective compression to the rescue. This model is about half as long as it would be if it matched the dimensions in the book. Also, this model represents the way the Disney imagineers produced it for their movie. It is a little less sleak and a bit more steampunk. |
|
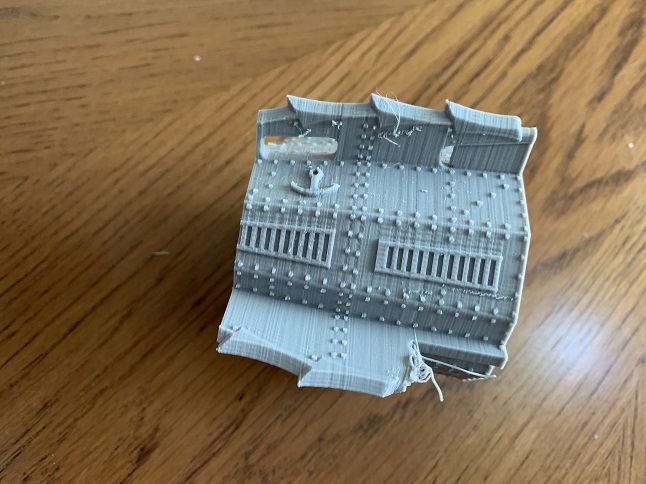 Nautilus Part 1 |
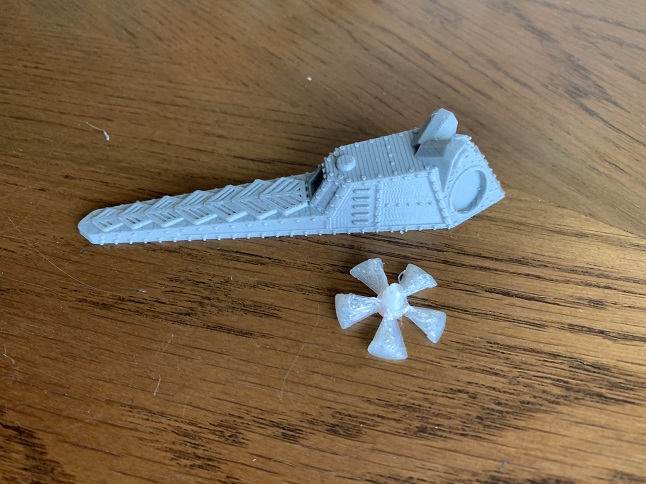 A Couple of Nautilus Parts as Printed |
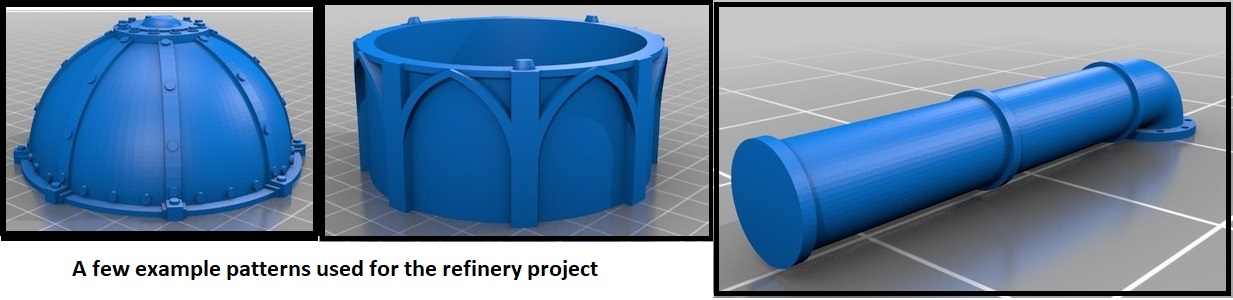 Sample Refinery Parts |
|
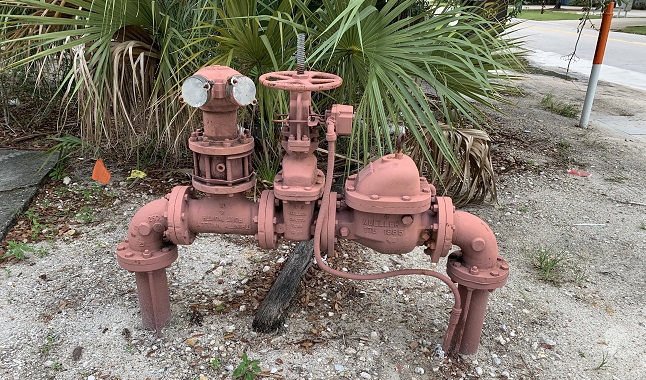 Real World Inspiration |
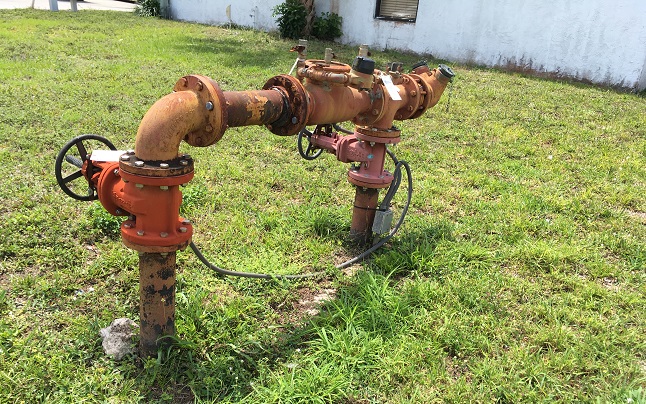 And Further Inspiration |
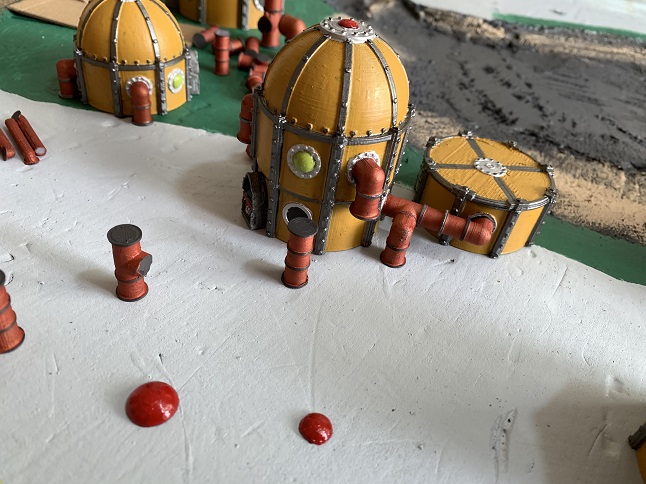 Some of the parts after I printed and painted them |
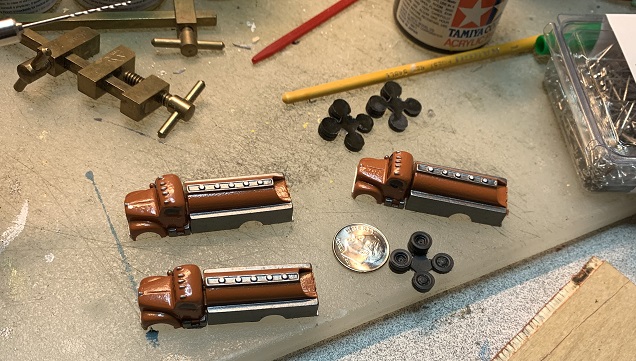 Little delivery trucks were also printed and painted. Here, they await installation of the wheels and tires. |
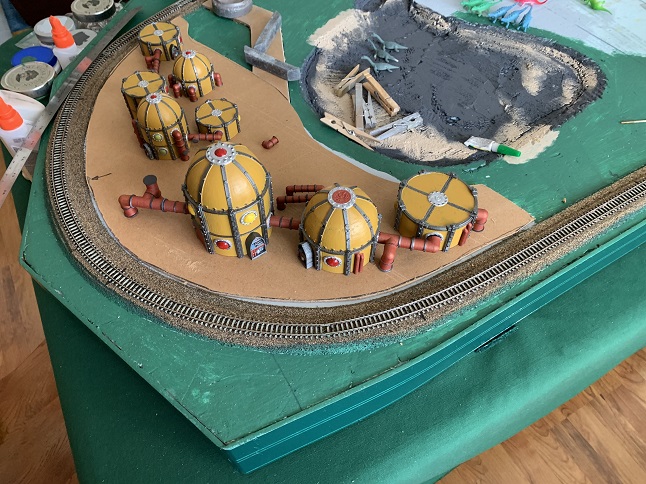 Temporary placement of the refinery buildings on a removable base. |
 The dashed stripes down the center of the access road are made from checkerboard sheets of adhesive plastic. They can be found at hobby shops that cater to model airplanes. |
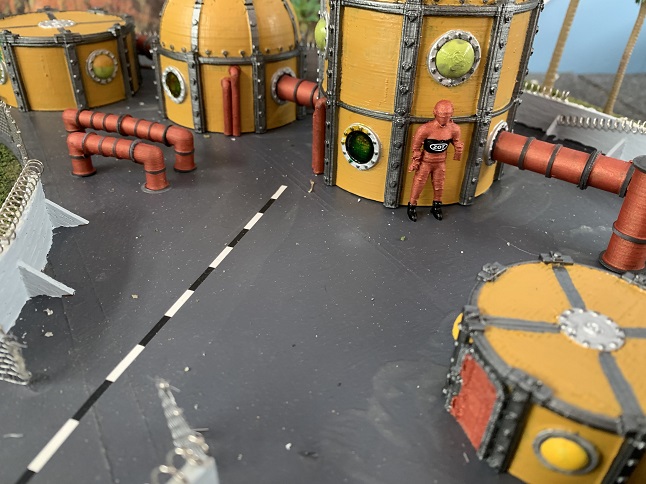 And, another Gort is here for security |
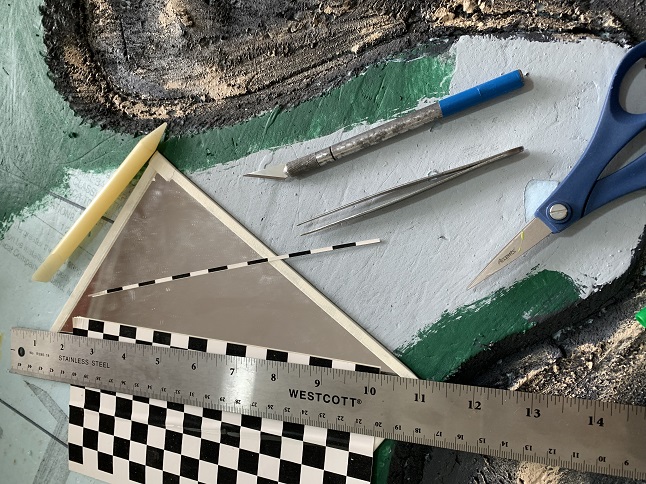
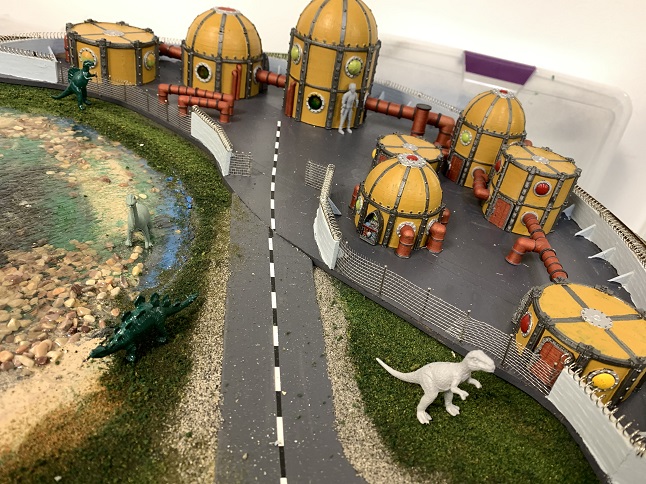 The road is Masonite that is painted and shaped to fit. The fence is made from metal screen for windows attached to straight pins. The solid perimeter wals are oak strips that were soaked a couple of days and then bent to shape. The razor wire is made from ball point pen springs. They are readily available online. |
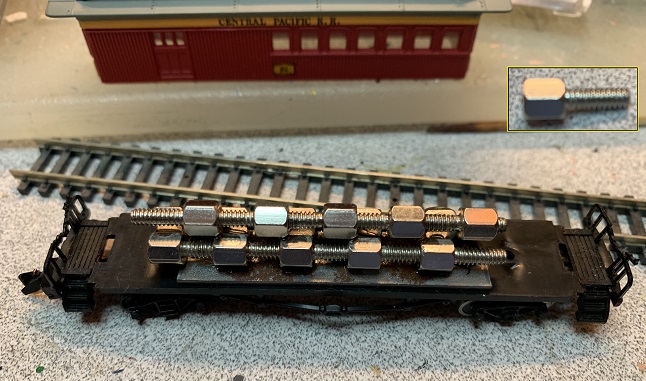 Added weights to meet the NMRA Recommended Practice using a bunch of circuit board standoffs. The inset has an image of just one. |
 Coming Soom |
| Home |
| Site and Pages Copyright 2011-2025 - William P. Porter --- Some content belongs to the indicated provider. |